Rear Projection Film
Turn a suitable window or clear panel into a projection screen.
With rear projection, the projector sits behind the viewing surface and the image is seen from the other side. Film applied to compatible glass or acrylic helps catch projected light, creating a display where ordinary clear material would not provide the same screen appearance.
Start with your space, lighting and desired visual effect. We can narrow down the right film family without assuming every projector, glass type or installation is automatically compatible.
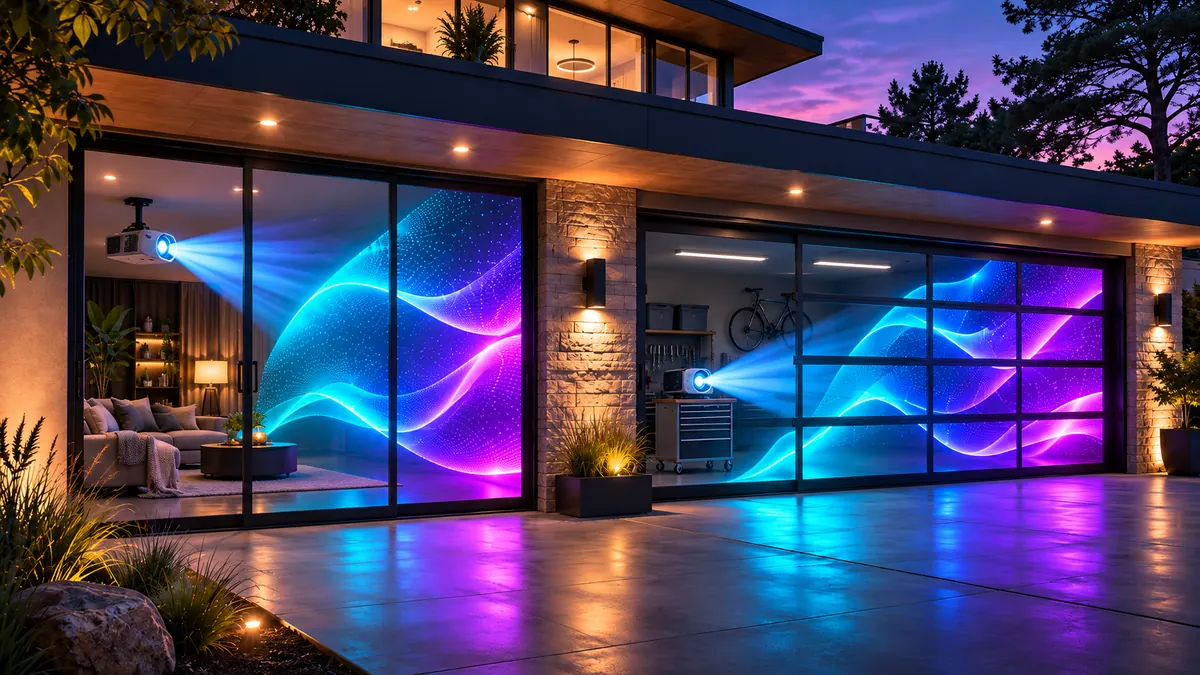
Project from behind. Watch from the front.
Rear Projection Film is different from Window Mapping Film. Instead of projecting onto the outside of a building facade, a rear-projection setup places the projector on the opposite side of the screen from the audience. The film becomes the image-catching display surface on suitable clear glass or acrylic.
Plan the space behind the screen
Provide the necessary throw distance, lens alignment, clearance, ventilation and power for the chosen projector.
Match the room and image
Brightness, ambient light, desired transparency and contrast help determine the best film to evaluate.
Review the glass or acrylic
Confirm substrate compatibility, film orientation, application procedure and safe installation before cutting or mounting.
From home entertainment to storefront displays.
Home theaters and media rooms
Create a screen on a suitable transparent panel or interior window while keeping the projector and wiring on the opposite side of the viewing space.
Garage and hobby displays
Use a film-backed panel for a hobby room, seasonal interior display or special occasion. Outdoor exposure and glazing must be evaluated separately.
Retail, exhibits and signage
Turn glass or acrylic into a video display surface in shopfronts, museums, corporate environments and temporary events.
Four rear-projection film families.
Screen Solutions International publishes these product families. Descriptions below are selection guidance, not independent testing, projector-fit certification or a guarantee of brightness in any particular lighting condition.
Bright results in controlled lighting
Accent is positioned for vivid images in light-controlled spaces, including many home theater and evening display applications.
More contrast for brighter spaces
Definition is the high-contrast option to evaluate when ambient light and dark image detail matter. Daylight performance depends on the complete system and site.
High-contrast professional effect
Definition Pro is a dark film intended for high-contrast results. It calls for projector-output and environment review before selecting a configuration.
A floating-image aesthetic
Intrigue is designed for a more transparent, holographic-style presentation on compatible clear surfaces. Appearance changes with light and content.
Clear, white, gray and black rear projection films on glass.
Compare the appearance of the four film families side by side. This illustrative guide helps visualize different looks; the actual result depends on projector brightness, ambient light, viewing direction and the specific film selected.
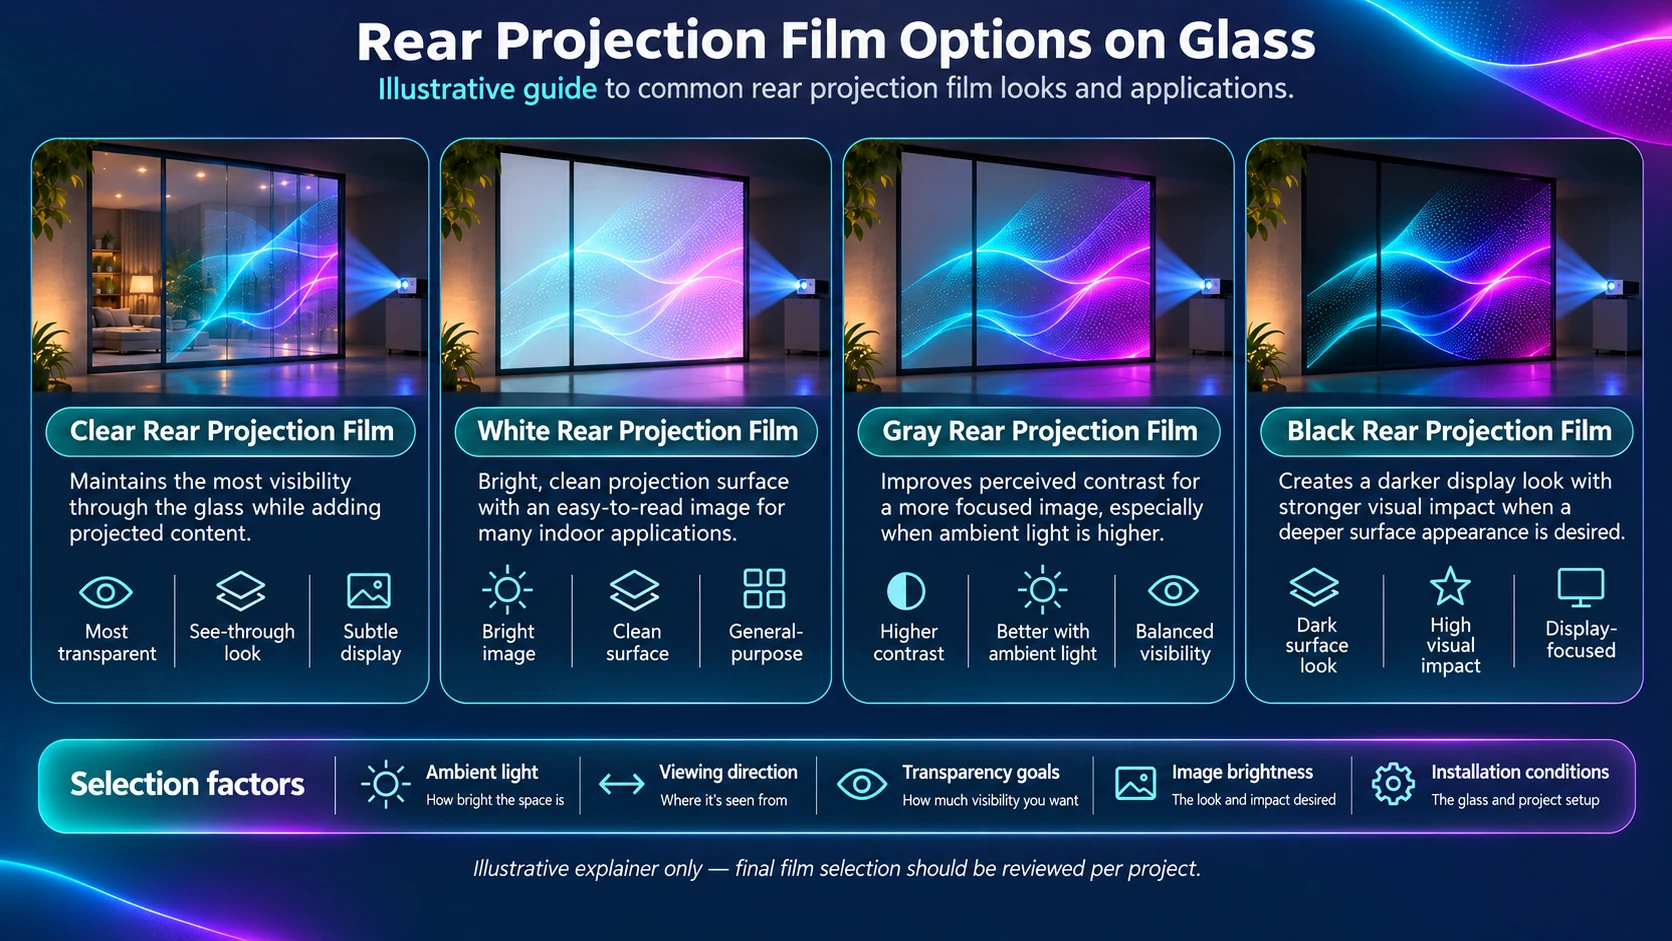
SSI film references above: Intrigue (clear), Accent (white), Definition (gray) and Definition Pro (black). Request current technical sheets and evaluate samples before final selection.
Five details to check before selecting film.
- Viewing side and projector side. Plan where the audience stands and where the projector will be installed.
- Projector model and lens. Verify brightness, throw, image size and whether the projector can work behind the display.
- Lighting. Document daylight, reflections, artificial light and intended operating hours.
- Surface and dimensions. Measure compatible glass or acrylic, review coatings and the correct film orientation.
- Mounting and application. Confirm safe access, approved wet-application supplies, ventilation, cleaning and service.
Plan the cut, not just the screen size.
SSI currently lists rear-projection film products in linear-foot quantities from roll stock, with custom cuts subject to review. Roll width, available lengths and any seams should be checked against the selected film variant before ordering.
Confirm finished screen size
Share your desired viewing area, mounting substrate and the orientation of the film on the window or panel.
Start with a film sample
See how a film behaves with the actual projector and ambient light before deciding on a larger installation.
Use the approved application method
Rear projection films may use a wet-application process. Follow the film’s current manufacturer instructions and appropriate application-kit requirements.
Review current SSI Rear Projection Film samples (reference only; Projection Mapping Supply online inquiries and checkout are not yet enabled).
What to know before getting started.
Where does the projector go for rear projection?
Behind the screen relative to the intended viewer. Measure the depth needed for the projector’s lens and planned image size, and provide suitable airflow and power.
Can I apply Rear Projection Film to any window?
Not automatically. Check glass or acrylic type, coatings, adhesive/application instructions, environmental exposure and any warranty or safety constraints before selecting a film.
Which film should a homeowner start with?
Begin by considering a sample and the room’s lighting. Accent is an option for controlled-light environments; different films offer contrasting image looks and need their own evaluation.
Will Rear Projection Film work in full sunlight?
Do not assume it will work with every projector or installation. Some SSI films target higher ambient-light conditions, but required brightness, reflections and final performance must be assessed for the real site.
Can I send a projector compatibility request here?
Not yet. Online compatibility submissions are temporarily unavailable while contact delivery and privacy checks are completed.