Author: admin

  • Running a Christmas Projector Show in Cold Weather: Homeline or Defender?

    Running a Christmas Projector Show in Cold Weather: Homeline or Defender?

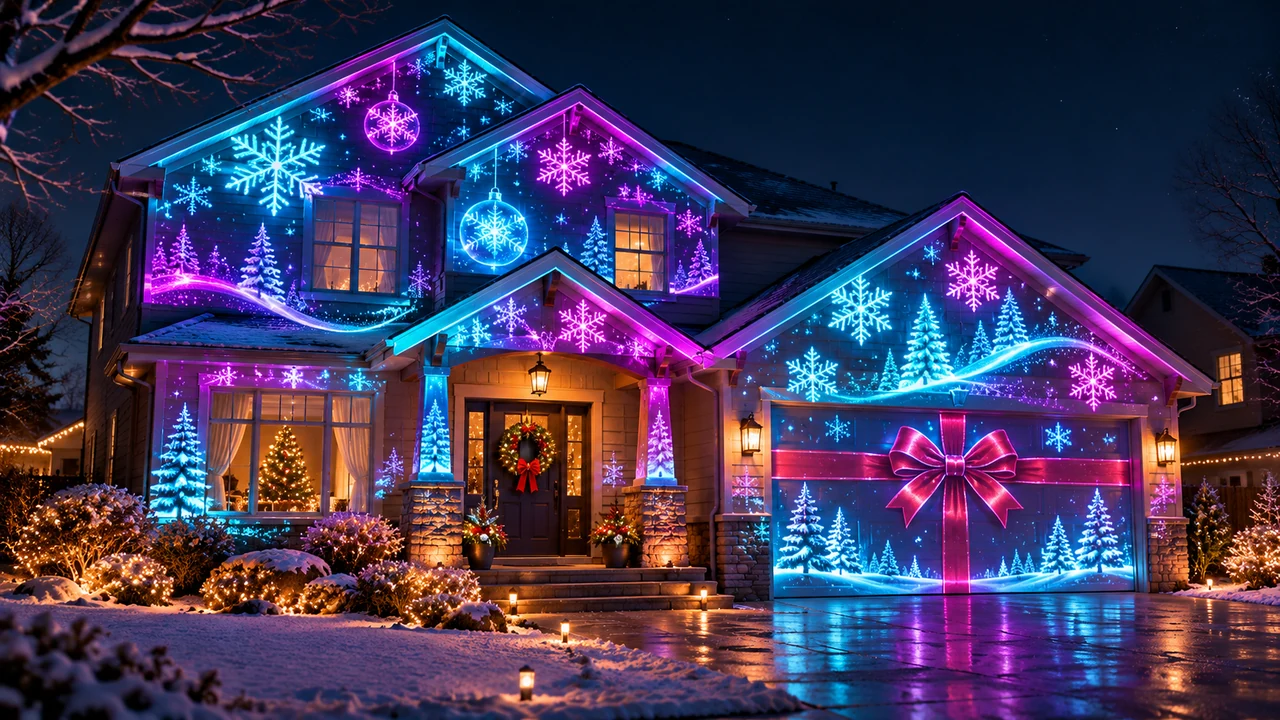
    A Christmas projection show runs through the coldest, wettest weeks of the year. The enclosure you choose matters more than almost anything else for keeping the show running until New Year. Here is how to decide between our two main options for homeowners.

    What winter does to an outdoor projector

    • Moisture: rain, sleet, frost and dew that turns to water when the projector warms up.
    • Snow: piling on top of the enclosure and blocking vents.
    • Long runs: many shows run four to six hours a night for six weeks.

    Homeline: fan-cooled, for milder winters

    Homeline is our fan-cooled enclosure for homeowners. It keeps weather and debris off the projector while moving air through it. It suits Christmas shows in milder winter climates and in sheltered spots like a covered porch or under an eave.

    • Fan-cooled design for home projection shows.
    • A 1-year warranty.
    • Fit checked for your projector model before you order.

    Christmas offer · only 20 available

    Homeline projector enclosure: $799. Fan-cooled, a 1-year warranty, and a fit check for your projector model before you order. Enclosure only; while the 20 last.

    Claim one of the 20 or call 888-631-5880

    Defender: climate-controlled, for harsh winters

    If your show runs through long stretches of freezing rain, heavy snow, high humidity or coastal salt air, the climate-controlled Defender is the better fit. It offers IP66-equivalent protection against dust and powerful water jets and comes in five sizes by cooling capacity, from Small (500 W) to Extra Large (4,500 W). Sizing is two steps: match the projector’s power draw to the cooling capacity, then check the physical fit.

    Quick guide

    Your winter Suggested enclosure
    Mild, mostly dry nights Homeline
    Sheltered spot (porch, eave) Homeline
    Long freezing or wet stretches Defender
    Coastal, salt air or very humid Defender

    Cold-weather tips for any enclosure

    • Raise the enclosure off the ground so snow and puddles stay clear.
    • Clear snow from the top and vents after storms.
    • Use outdoor-rated cords and a GFCI outlet, with connections kept dry.
    • Check focus and alignment after freezes; stands can shift.

    Don’t forget the windows

    Cold or not, windows without film turn into dark gaps. Window Mapping Film on the outside of the glass catches projected light so they join the show.

    Not sure which one?

    Tell us where you live, where the projector will sit and the projector model, and we will recommend Homeline or Defender. Contact us or call 888-631-5880.

    More reading: How to protect a projector outside for Christmas · Choosing a residential projector enclosure · Projection mapping near you
  • Garage Door Christmas Projection: Step-by-Step Setup

    Garage Door Christmas Projection: Step-by-Step Setup

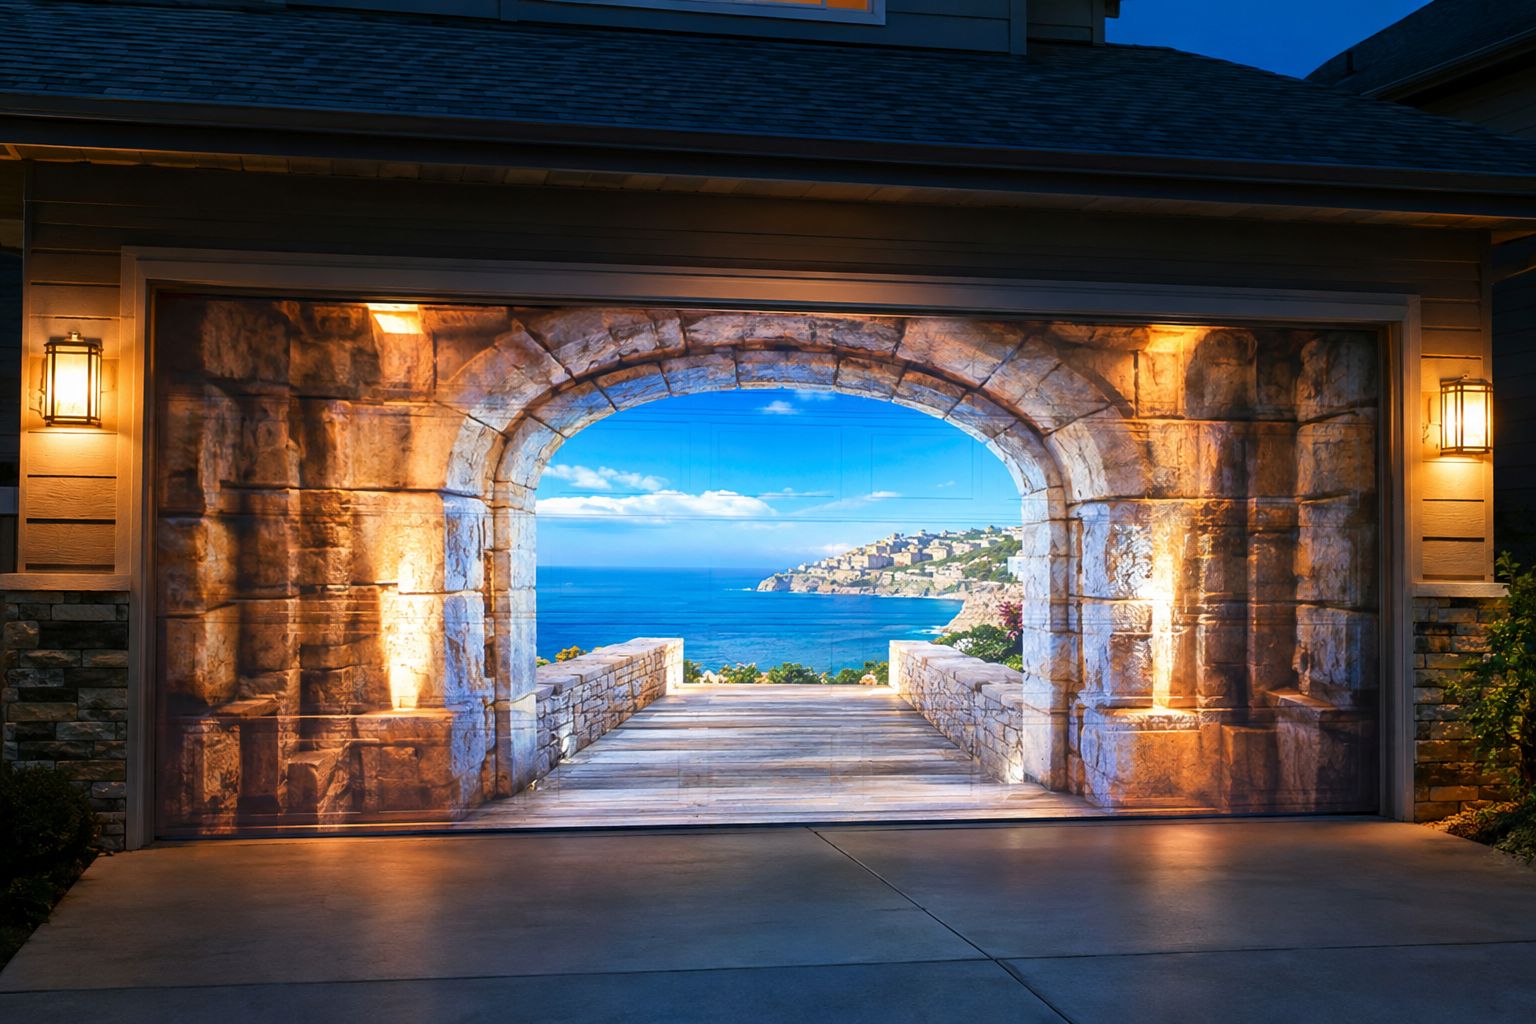
    If you want to try Christmas projection without mapping the whole house, start with the garage door. It is big, flat, usually light-colored and faces the street. That makes it the easiest surface on most houses for a bright, sharp image.

    1. Measure the door

    A typical single garage door is about 8 to 9 ft wide; a double is about 16 ft. Measure yours, including the trim if you want the image to wrap it.

    2. Work out the projector distance

    Distance equals the projector’s throw ratio times the image width. For a 16 ft door and a throw ratio of 1.2, that is about 19 ft back. A short-throw projector lets you set up much closer, which helps on short driveways. More on this in how far the projector should be from your house.

    3. Pick the spot

    The end of the driveway or the lawn beside it usually works. Keep the beam clear of parked cars and people walking up to the door, and raise the projector on a stand if you can.

    4. Protect the projector

    The projector will sit outside every night of the season. A Homeline enclosure is our fan-cooled option for homeowners in milder climates. For wet, freezing or coastal sites, use the climate-controlled Defender. We check the fit for your projector model before you order.

    Christmas offer · only 20 available

    Homeline projector enclosure: $799. Fan-cooled, a 1-year warranty, and a fit check for your projector model before you order. Enclosure only; while the 20 last.

    Claim one of the 20 or call 888-631-5880

    5. Power it safely

    Run an outdoor-rated cord from a GFCI-protected outlet, keep connections off the ground, and route the cord where nobody will trip on it.

    6. Map the panels

    In your mapping software, outline the door and its panels. Content that follows the panel lines looks far more convincing than a flat picture: a present with the ribbon along the seams, or snow piling up on each panel ledge.

    7. Choose the content

    • A gift-wrapped door with a ribbon that unties itself.
    • A Christmas countdown that changes every night.
    • A fireplace scene or a window into Santa’s workshop.
    • Snow falling across the door and the drive.

    8. Add the windows next

    Once the garage looks good, expand to the house. Windows need Window Mapping Film on the outside of the glass, or projected light disappears into the house.

    Get help

    Send us the door size, your projector model and how far back you can set up. Contact us or call 888-631-5880.

    More reading: Garage door projection mapping guide · Christmas house projection mapping guide · 12 Christmas projection ideas

  • 12 Christmas Projection Ideas for Your House

    12 Christmas Projection Ideas for Your House

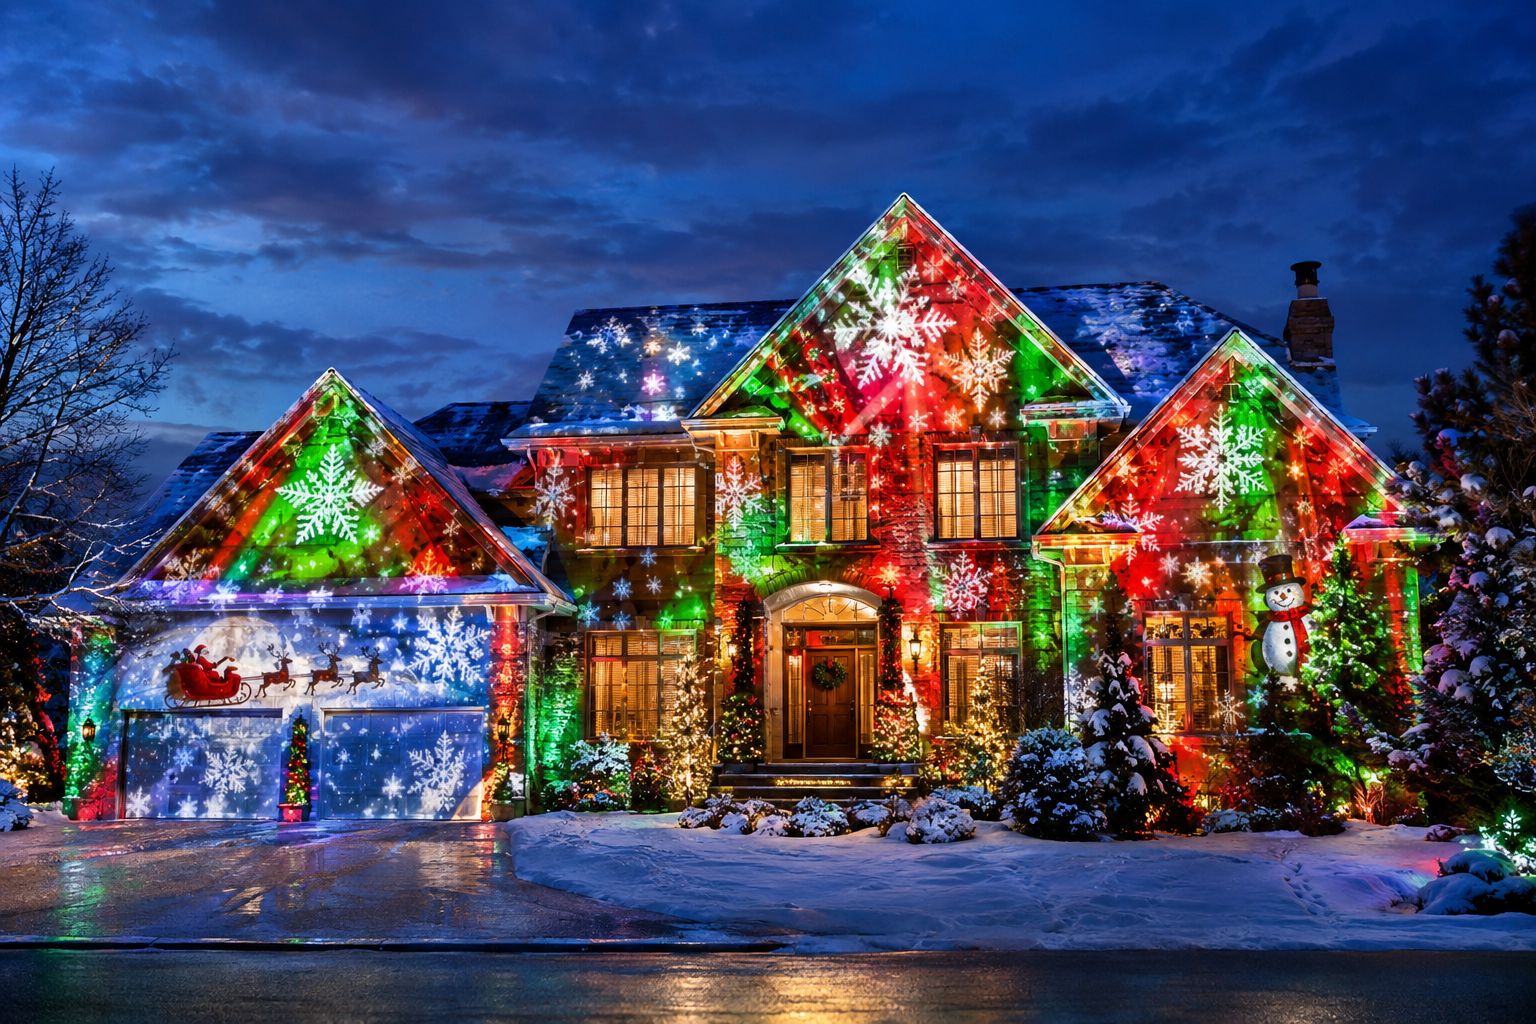
    The best Christmas projection shows do more than shine a pattern on a wall. They use the shape of the house: the windows, the roofline, the front door and the garage. Here are twelve ideas to get you started.

    On the whole house

    1. Gentle snowfall. Slow-falling snow across the whole facade is simple, calm and looks good all night.
    2. The house turns to gingerbread. Map icing along the rooflines and candy on the window frames.
    3. Northern lights. Soft green and violet waves rolling across the siding.
    4. A sleigh across the roof. Santa and the reindeer fly in from one side and land on the chimney.

    In the windows

    1. Glowing windows. Warm candle-light or a fireplace glow in every window.
    2. Elves at work. A different elf in each window, wrapping, painting and waving.
    3. The advent windows. One more window lights up each night until Christmas.

    Window ideas need Window Mapping Film on the outside of the glass. Without it, projected light passes into the house and the windows stay dark.

    On the garage and door

    1. Gift-wrapped garage. The garage door becomes a present with a ribbon that unties itself.
    2. Countdown to Christmas. A big number on the garage that changes each night.
    3. The front door becomes a nutcracker guarding the entrance.

    Stories and interaction

    1. A two-minute story on a loop: the snowman who builds himself, or the reindeer who lost his way.
    2. A personal message. Holiday greetings with your family name.

    Christmas offer · only 20 available

    Homeline projector enclosure: $799. Fan-cooled, a 1-year warranty, and a fit check for your projector model before you order. Enclosure only; while the 20 last.

    Claim one of the 20 or call 888-631-5880

    What you need to pull these off

    Start planning

    Pick two or three ideas, take a photo of your house from the street, and send it with your projector model. Contact us or call 888-631-5880.

    More reading: Christmas house projection mapping guide · How far should the projector be from your house? · Window Mapping Film for Christmas

  • How Far Should the Projector Be From Your House for a Christmas Show?

    How Far Should the Projector Be From Your House for a Christmas Show?

    It is the first question almost everyone asks before a Christmas projection show: where does the projector go? The answer comes from one number on the projector’s spec sheet, the throw ratio, and one measurement you can take with a tape measure.

    The simple formula

    Distance = throw ratio × image width.

    If you want the image to cover a 30 ft wide house and your projector has a throw ratio of 1.2, the projector needs to be about 36 ft away. A short-throw projector with a ratio of 0.5 would cover the same 30 ft from about 15 ft.

    Many projectors have a zoom lens with a range of throw ratios, which gives you some flexibility. Check the spec sheet for the minimum and maximum.

    Step by step

    1. Measure the width of the area you want to cover: the whole facade, just the garage, or one gable.
    2. Find your projector’s throw ratio (or range).
    3. Multiply to get the distance, then walk it out from the house.
    4. Check that spot is on your property, is level, and has power nearby.
    5. Make sure nothing blocks the beam: trees, parked cars, bushes, people walking past.

    If your yard is too small

    • Use a short-throw projector. It covers the same width from much closer. See Projectors & Lenses.
    • Cover less. Map the garage door or the center of the house instead of the whole width.
    • Use two projectors. Each covers half the house, and the mapping software blends them.

    Angle and height

    Projecting from low on the lawn puts the image at an angle, which mapping software can correct. Raising the projector on a sturdy stand reduces distortion and keeps people from walking through the beam.

    Brightness at that distance

    The farther away the projector, the larger and dimmer the image. Street lights and porch lights wash out the picture, so turn off your own exterior lights during the show and choose a brighter projector if the street is well lit.

    Christmas offer · only 20 available

    Homeline projector enclosure: $799. Keep the projector protected on the lawn all season. Fan-cooled, a 1-year warranty, and a fit check for your projector model. Enclosure only; while the 20 last.

    Claim one of the 20 or call 888-631-5880

    Protect it where it stands

    Once you know the spot, the projector will sit there for weeks. A Homeline enclosure suits homeowners in milder climates; the climate-controlled Defender suits wet, freezing or coastal sites. And if windows fall inside the image, Window Mapping Film on the outside of the glass keeps them from going dark.

    Need help with the numbers?

    Send us your projector model, the width you want to cover and how far you can place it. Contact us or call 888-631-5880.

    More reading: Christmas house projection mapping guide · 10-step Christmas projector checklist

  • Christmas Projection Mapping vs. Christmas Lights: Which Is Right for Your House?

    Christmas Projection Mapping vs. Christmas Lights: Which Is Right for Your House?

    Every year you face the same question: get the ladder out and hang lights again, or try something new? Projection mapping has moved from theme parks to front yards, and more homeowners are using it for Christmas. Here is how the two compare, so you can decide what fits your house.

    How each one works

    Christmas lights are physical strings clipped to gutters, wrapped around trees and laid along paths. What you hang is what you see.

    Projection mapping uses a projector and mapping software to fit moving images to the shape of your house. Windows, doors, rooflines and the garage all become part of an animated scene that you can change any night.

    Side by side

    Christmas lights Projection mapping
    Setup Ladders, clips and hours on the roof Projector on the lawn, mapped from the ground
    Look Static or simple chase patterns Full animation: snow, characters, stories
    Changing the design Rehang everything Load new content
    Other holidays Mostly Christmas Halloween, birthdays, game nights and more
    Daytime Visible as hardware Nothing on the house; the enclosure sits in the yard
    Best on Trees, bushes, rooflines Flat walls, garage doors, windows with film

    When lights still win

    Lights are hard to beat on trees, hedges and outlines that are far from a flat surface. Many of the best displays combine both: lights on the trees, projection on the house.

    What you need for projection

    • A projector bright enough for your street lighting. See Projectors & Lenses.
    • A projector enclosure so it can live outside all season. Homeline suits homeowners in milder climates; Defender suits wet, freezing or coastal sites.
    • Window Mapping Film so the windows show the image instead of swallowing it. See Window Mapping Film.
    • Content and mapping software to fit the animation to your house.

    Christmas offer · only 20 available

    Homeline projector enclosure: $799. Fan-cooled, a 1-year warranty, and a fit check for your projector model before you order. Enclosure only; while the 20 last.

    Claim one of the 20 or call 888-631-5880

    The bottom line

    If you want a show the neighbors stop for, can change every year and can reuse for other holidays, projection mapping is worth a look. Start with the Christmas house projection mapping guide, then contact us or call 888-631-5880 with your projector model.

    More reading: 10-step Christmas projector checklist · Window Mapping Film for Christmas

  • How to Protect a Projector Outside for a Christmas Light Show

    How to Protect a Projector Outside for a Christmas Light Show

    Most Christmas projection shows run every night from late November into January. That is six or seven weeks of rain, dew, frost, wind and the occasional raccoon. Projectors are built for living rooms, so leaving one on the lawn unprotected is the quickest way to end your show early.

    What can go wrong outdoors

    • Moisture: rain, sprinklers, dew and melting frost.
    • Heat: a sealed plastic box with no airflow can cook a projector, even on a cold night.
    • Debris and animals: leaves, dust, insects and curious pets block vents and lenses.
    • Bumps and knocks: a projector on a stand can be moved by wind or a passing dog, which ruins your mapping alignment.

    Why a proper projector enclosure

    A projector enclosure is built around the projector: a window for the lens, a path for air in and out, room for cables, and a secure base so the image stays lined up. A storage tub or a cardboard box does none of that.

    Homeline: for homeowners in milder climates

    Our Homeline projector enclosure is fan-cooled and designed for home projection shows. It keeps weather and debris off the projector while moving air through it, which suits Christmas displays in milder winter climates. Every enclosure has a 1-year warranty, and we check the fit for your projector model before you order.

    Defender: for wet, freezing or coastal sites

    If your show runs through long stretches of freezing rain, heavy humidity or salt air, look at the climate-controlled Defender. It offers IP66-equivalent protection against dust and powerful water jets and comes in sizes from Small (500 W of cooling) to Extra Large (4,500 W).

    Christmas offer · only 20 available

    Homeline projector enclosure: $799. Fan-cooled, a 1-year warranty, and a fit check for your projector model before you order. Enclosure only; while the 20 last.

    Claim one of the 20 or call 888-631-5880

    Placement tips

    • Set the enclosure on a stable, level base off the ground, away from puddles and sprinkler heads.
    • Keep vents clear of plants, snow and holiday decorations.
    • Point the lens slightly down if you can, so rain runs off rather than across it.
    • Lock or secure the enclosure if it is visible from the street.

    Power safety

    • Use outdoor-rated cords and a GFCI-protected outlet.
    • Keep plugs and connectors off the ground and covered.
    • Check connections after storms or heavy frost.

    Don’t forget the windows

    Once the projector is protected, the biggest upgrade is usually the windows. Window Mapping Film on the outside of the glass catches projected light so the windows become part of the picture instead of dark gaps.

    Get a fit check

    Send us your projector make and model and where it will sit. Contact us or call 888-631-5880.

    More reading: Christmas house projection mapping guide · Choosing a residential projector enclosure · 10-step Christmas projector checklist

  • Window Mapping Film for Christmas: Put Your Windows in the Show

    Window Mapping Film for Christmas: Put Your Windows in the Show

    Point a projector at your house for Christmas and you will notice something on the first night: the snow and stars look great on the siding, then disappear the moment they hit a window. Glass is clear, so most of the projected light passes straight through into the room. The picture ends up with dark holes exactly where many houses have their most interesting shapes.

    What Window Mapping Film does

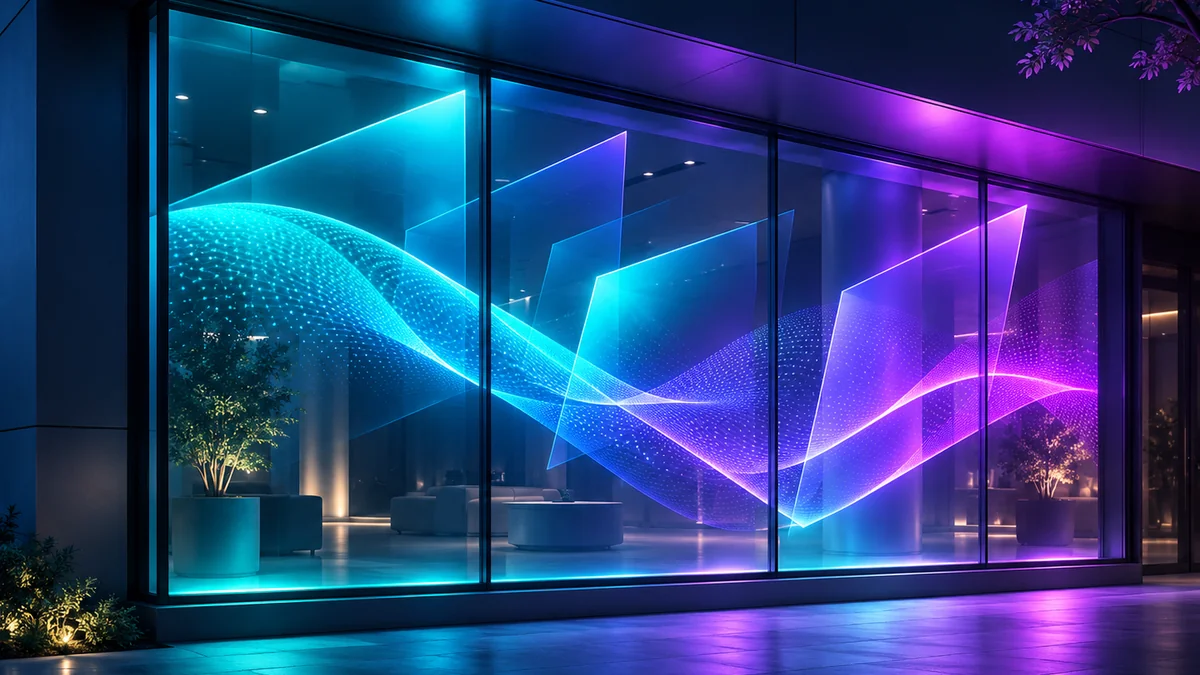
    Window Mapping Film goes on the outside of suitable windows. Instead of letting projected light pass through, it gives that light a surface to catch, so the projected image shows on the glass as part of the show. Snowflakes can drift across the whole front of the house, a wreath can glow in an upstairs window, and a countdown can sit right in the middle of a picture window.

    When the projector is off, the film stays largely see-through: about 92% light transmission with 4.5–7% haze, so the windows still look and work like windows.

    Sizes

    The film is 0.075 mm thick and comes in rolls 49 in (1.24 m) wide, in lengths from 10 to 100 ft, with custom lengths on request. Measure each window you want in the show and send us the sizes. Glass type and exterior exposure are checked for each project before you order.

    Christmas ideas that use the windows

    • Glowing windows: warm candle-light or a fireplace glow in every window while snow falls on the siding.
    • Characters in the windows: elves, a reindeer or Santa appearing one window at a time.
    • Window frames as gifts: wrap each window in a projected ribbon and bow.
    • A big picture window: use it as the centerpiece for a short animated story or a Christmas countdown.

    Christmas offer · only 20 available

    Homeline projector enclosure: $799. Pair it with Window Mapping Film for a full-house show. Fan-cooled, a 1-year warranty, and a fit check for your projector model. Enclosure only; while the 20 last.

    Ask about film and the $799 Homeline or call 888-631-5880

    Window film vs. rear projection film

    They do different jobs. Window Mapping Film is for projecting onto the house from outside. Rear Projection Film turns a window or clear panel into a screen you project onto from behind, so the projector can stay indoors. That works well for a single window display, like a storefront or a front room facing the street.

    Planning tips

    • Map the windows in your projection software as separate shapes so you can give them their own content.
    • Keep the projector outside and protected. A Homeline enclosure suits homeowners in milder climates; the climate-controlled Defender suits wet, freezing or coastal sites.
    • Test at dusk and adjust brightness so the windows and siding look even.

    Get started

    Send us your window sizes, a photo of the house and your projector model, and we will help you plan the film and enclosure. Contact us or call 888-631-5880.

    More reading: Christmas house projection mapping guide · Window Mapping Film · 10-step Christmas projector checklist

  • Christmas House Projector Setup: A 10-Step Checklist

    Christmas House Projector Setup: A 10-Step Checklist

    A Christmas projection show can turn the front of your house into falling snow, glowing ribbons and a sleigh that crosses the roofline. Getting there is mostly planning. Work through this checklist in order and you will avoid the usual problems: an image that is too dim, a projector that overheats or gets wet, and windows that swallow half the show.

    1. Pick the surfaces

    Stand at the street where people will watch and decide what the show should cover: the whole facade, the garage door, the windows, or a single gable. Light-colored, flat surfaces show the brightest image. Dark brick and deep shadows need more projector brightness.

    2. Measure the width you want to cover

    Measure the width of the area you want lit. You need this number to work out where the projector goes and which lens or projector suits it.

    3. Find the projector position

    Most homeowners put the projector on the lawn, a porch rail or across the driveway. The distance from the projector to the house is set by the projector’s throw ratio: distance equals throw ratio times image width. Our guide on Christmas house projection mapping walks through this in more detail.

    4. Choose a bright enough projector

    Street lights, porch lights and neighbors’ displays all compete with your image. Brighter is better outdoors, and short-throw projectors help on small lots. See Projectors & Lenses; BenQ is a priority partner.

    5. Protect the projector

    A projector left outside for the whole season needs an enclosure that keeps rain, dew and debris off it while still letting it breathe. Homeline is our fan-cooled enclosure for homeowners in milder climates. For long runs in wet, freezing or coastal conditions, the climate-controlled Defender is the better match.

    Christmas offer · only 20 available

    Homeline projector enclosure: $799. Fan-cooled, a 1-year warranty, and a fit check for your projector model before you order. Enclosure only; while the 20 last.

    Claim one of the 20 or call 888-631-5880

    6. Check the fit before you order

    Send us the projector make and model. We check body size, lens position, airflow and power against the enclosure before you order, so there are no surprises on setup night.

    7. Bring the windows into the show

    Untreated glass lets projected light pass straight into the house, which leaves dark holes in the picture. Window Mapping Film goes on the outside of suitable windows and gives that light a surface to catch, so the snow and ribbons carry across the glass. It stays largely see-through when the projector is off.

    8. Plan the power

    Use outdoor-rated extension cords, plug into a GFCI-protected outlet, and keep connections off the ground. Do not share the circuit with a big inflatable display if you can avoid it.

    9. Map and align the content

    Mapping software lets you outline the windows, doors and rooflines so the animation follows the shape of the house. Save your mapping file so you can reload it each night or next year.

    10. Test at dusk, then set a schedule

    Run a full test after dark, adjust focus and brightness, and walk to the street to see it as visitors will. Then set the show to run on a timer each evening.

    Ready to start?

    Tell us your projector model and where it will sit, and we will help you plan the enclosure and film. Contact us or call 888-631-5880. Projection Mapping Supply ships internationally.

    More reading: Christmas house projection mapping guide · Homeline projector enclosures · Window Mapping Film · Projection mapping near you