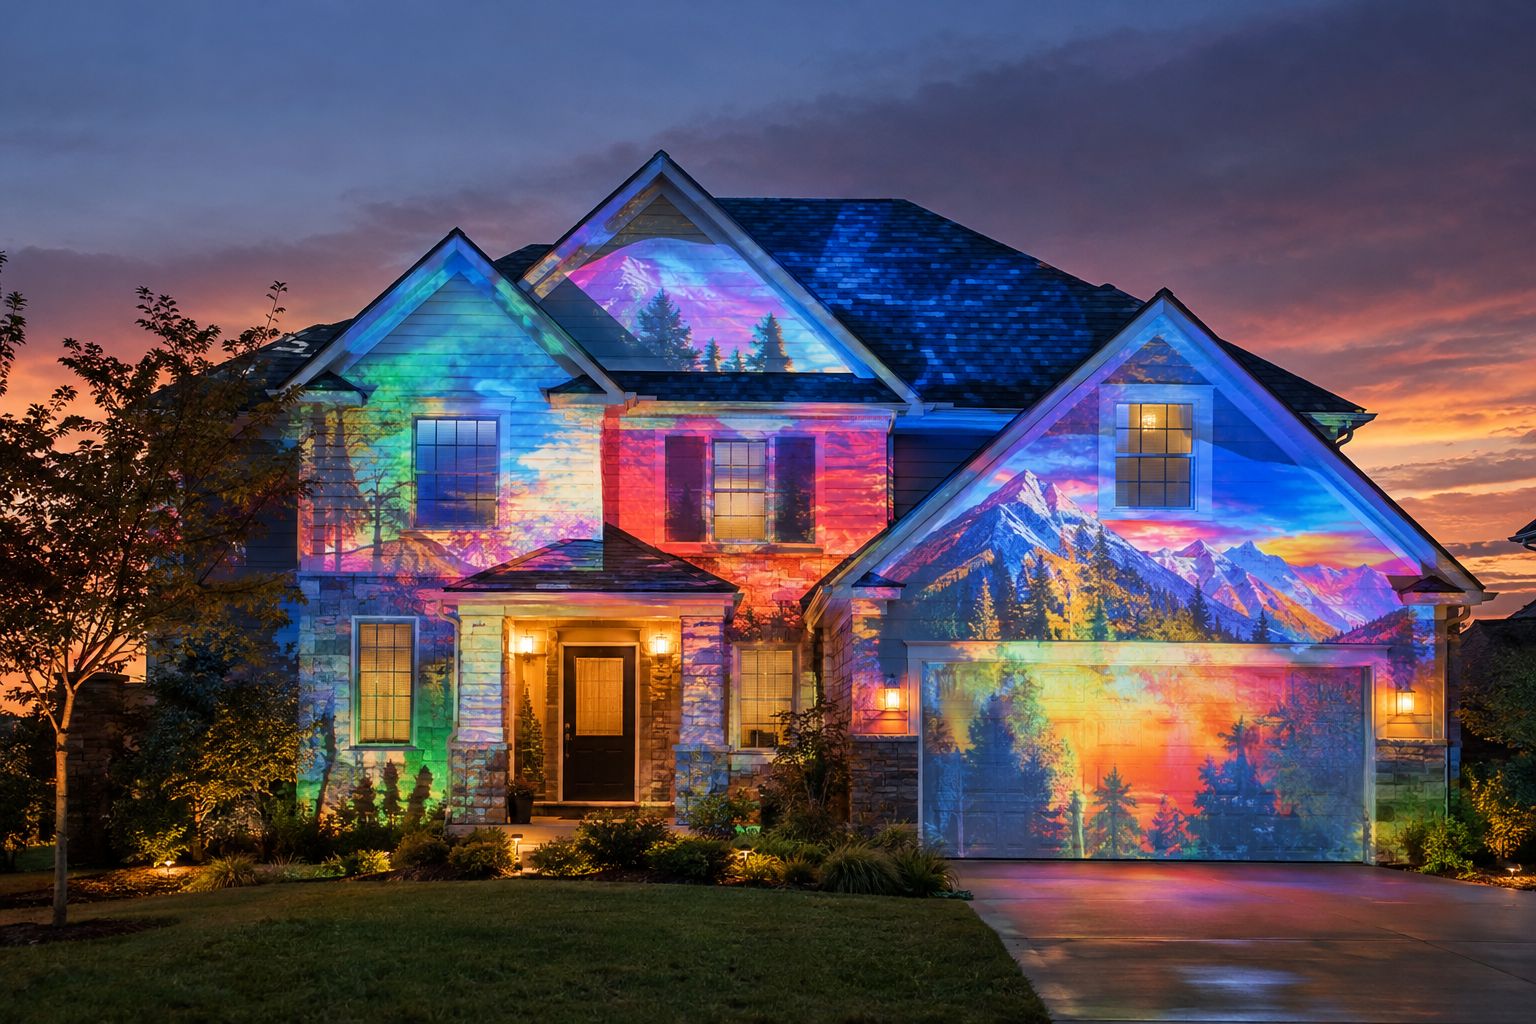
Residential projection mapping is quickly becoming a favorite way for homeowners to transform facades, windows, and garages with vibrant, eye-catching displays for every season. Whether it’s holiday magic, birthday celebrations, or creative light shows, safeguarding your projector is key to a successful installation. The right projector enclosure with proper setup ensures your investment stays protected while you achieve crisp, reliable visuals night after night.
Christmas offer · only 20 available
Homeline projector enclosure: $799
Fan-cooled Homeline for homeowners in milder climates, with a 1-year warranty and a fit check for your projector model before you order. The $799 Christmas price is for the enclosure and runs while the 20 last.
The Role of Projector Enclosures in Home Mapping
Projector enclosures are more than just weather covers—they’re specialized, ventilated housings designed to keep your projector operating safely and reliably in outdoor and semi-outdoor environments. With rain, wind, fluctuating temperatures, and curious wildlife to contend with, it’s crucial to choose an enclosure built specifically for projection technology. The ideal model keeps dust and moisture at bay, maintains airflow, and enables straightforward electrical and mapping setup, all without blocking your projector’s image or interfering with mapping accuracy.
Start with the Homeline Projector Enclosure
For the vast majority of homeowners planning residential projection mapping, the Homeline projector enclosure is the leading choice. Compact, fan-cooled, and tailored for mild climates, it offers straightforward installation on patios, decks, or lawns. Fit is checked for each projector model. It is meant for milder weather (not salt-air or high-humidity sites), and its discreet styling blends easily into residential settings. Use Homeline for façade mapping, window projections, or driveway displays.
Explore Homeline & request projector-fit guidance
Confirm projector dimensions, lens position, ventilation, and power before ordering.
How to Choose the Right Enclosure for Your Project
Selecting the best projector enclosure starts with your projector’s dimensions, lens placement, and the environment where you’ll be projecting. Here’s how our three top residential picks compare for typical home use:
| Model | Key Use | Environment | Cooling | Enclosure Size |
|---|---|---|---|---|
| Homeline | Standard residential (façade, window, garage, driveway) |
Mild climates | Fan-cooled | Depends on projector; compact |
| Small Integrator | Professional home installs (events, advanced creatives) |
Mild climates, extended duty cycle |
Fan-cooled | Compact, fits select pro projectors |
| Small Defender | Challenging residential sites (coastal/salt air, high humidity) |
Salt air, high humidity, harsher weather |
Climate-controlled | 500W thermal limit; fits select models |
- Homeline — Recommended for most homes. Easy to set up; fit is checked per projector. Fan-cooled for reliability, not for extreme climates.
- Small Integrator — For homeowners seeking pro-level features for special events or semi-permanent setups using certain professional projectors.
- Small Defender — Select if you’re in a coastal area or face high humidity. Offers extra environmental protection, but is limited by a 500W max thermal envelope and fit depends on your projector’s size and shape.
If your project calls for rare, high-powered projectors or is for a non-residential application, specialty options in larger Defender sizes may be available on a case-by-case basis. For the standard homeowner façade or window display, start with Homeline and confirm your projector’s fit first.
Setup Steps for Residential Projection Mapping
Successful mapping begins with planning. To achieve optimal visuals and protect your equipment, follow these essential setup steps:
- Select projector location: Choose a spot with a clear throw distance to your intended surface. Avoid paths of foot traffic and protect from direct sprinkler spray.
- Measure carefully: Check that your projector’s dimensions, lens position, and vent locations confirm to the Homeline or other enclosure’s fit before finalizing order.
- Mount securely: Use a solid mounting base (such as tripod or ground pad) to keep the enclosure steady in wind and weather. Secure cables out of tripping paths.
- Ensure airflow: Never block the enclosure’s intake or exhaust fans. Regularly inspect for debris, webs, or blockages.
- Connect power safely: Use weather-protected extension cords and outdoor-rated power supplies. Avoid low areas where water could pool.
- Test projection alignment: Run the projector with patterns to fine-tune focus, keystone, and throw distance before starting any mapping calibration.
Projector Brightness and Throw Considerations
The quality of your home mapping display relies on sufficient brightness and appropriate lens throw. Many modern projectors can deliver impressive results for most small to mid-sized surfaces when protected by an appropriate enclosure. Consider:
- Throw Ratio: Affects how much image you can cover from your mounting distance. Longer throws let you project larger images from farther back; short throws can fill small facades up close.
- Brightness: More lumens are better for complex or bright environments, but also create more heat—check your model’s suitability for your enclosure, especially if considering the Small Defender.
- Lens Position: Double-check that your lens lines up with the enclosure window, with no vignetting or blockage.
For personalized recommendations, contact the team for projector-fit guidance.
Calibration, Mapping Software, and Alignment
High-impact projection mapping depends on meticulous content alignment. After placing your enclosure and projector, use your chosen mapping software (like MadMapper, HeavyM, or Resolume Arena) to:
- Map your façade, window, or garage surface with precise corner-point alignment.
- Create masks for windows, doors, or architectural features to sharpen your visuals.
- Iterate with test patterns and tweak mapping nodes until content sits perfectly on the intended surfaces.
- Save your calibration for reliable show repeats.
Electrical and Weather Safety
Safety is paramount. When working with outdoor projection, always observe the following:
- Only use grounded (GFCI) outdoor-rated outlets and keep connections above ground.
- Inspect cables for damage before every use.
- Seal any cable ingress points using weatherproof gaskets or covers.
- Never open the enclosure during rain/while powered unless rated safe to do so by the manufacturer.
- Secure enclosures from tipping or high winds—stakes or sandbags help for temporary setups.
For year-round installations in harsher climates or humid coastal locations, the Small Defender enclosure with climate control may be essential—check your site conditions before purchase.
Window Mapping Film and Rear Projection Film
Window mapping adds drama to your displays but calls for the right projection material. When choosing mapping film for windows:
- Window Mapping Film: goes on the outside of suitable windows and gives projected light a surface to catch, so the show carries across the glass instead of passing through. It stays largely see-through when the projector is off.
- Rear projection film: For rear setups, select a film designed for back-illumination through glass or acrylic, enhancing brightness and contrast.
Ask the Projection Mapping Supply team for help selecting the best film for your residential project goals.
Benefits of Residential Projection Mapping with the Right Enclosure
Maintain projector performance and image sharpness, no matter the weather.
Install easily and access your gear when needed, with built-in ventilation and safety features.
Protect electrical and hardware investments—keep everyone safe from environmental and electrical risks.
Specialty and Commercial Enclosure Options
For rare needs such as oversized, high-powered commercial projectors, or permanent installations facing extreme temperature swings, Defender enclosures are available in larger sizes and thermal ratings (Medium, Large, Large Plus, Extra Large). These are generally reserved for specialty or professional/commercial installs and not typical home users. Always consult with the team for suitability if working outside standard home projector ranges.
FAQs for Homeowners Planning Residential Mapping
- Q: Will Homeline fit my specific projector model?
- A: Fit is checked for each projector model. Send us your projector’s measurements (length, width, height), lens placement and airflow needs before ordering.
- Q: Do I need climate control for my projector enclosure?
- A: For most standard home situations, fan-cooled (Homeline) is adequate. Select Small Defender only for coastal or high-humidity environments with the right projector size and heat output.
- Q: Can I use my projector through a window?
- A: Yes. Window Mapping Film on the outside of the glass lets projected light show on the windows, and Rear Projection Film lets you project onto a window from inside.
- Q: How do I prevent condensation or overheating?
- A: Proper enclosure ventilation, never covering intake/exhaust, and avoiding locations with excessive water exposure help prevent condensation and overheating. For environments prone to extreme conditions, consider climate-controlled models like the Small Defender.
- Q: Is permanent outdoor projection mapping possible?
- A: Many homeowners opt for semi-permanent setups, especially for holidays. For true permanent installations, professional consultation is recommended to handle ongoing maintenance and climate factors.
- Q: How loud are the enclosure fans?
- A: Noise depends mostly on the projector’s own fans and how close the enclosure sits to where people gather. Tell us about your setup and we can talk it through.
Ready to Map Your Home? Start with Homeline.
Turn your next celebration or holiday into an unforgettable visual event with the Homeline projector enclosure. Request an enclosure fit check and quote: