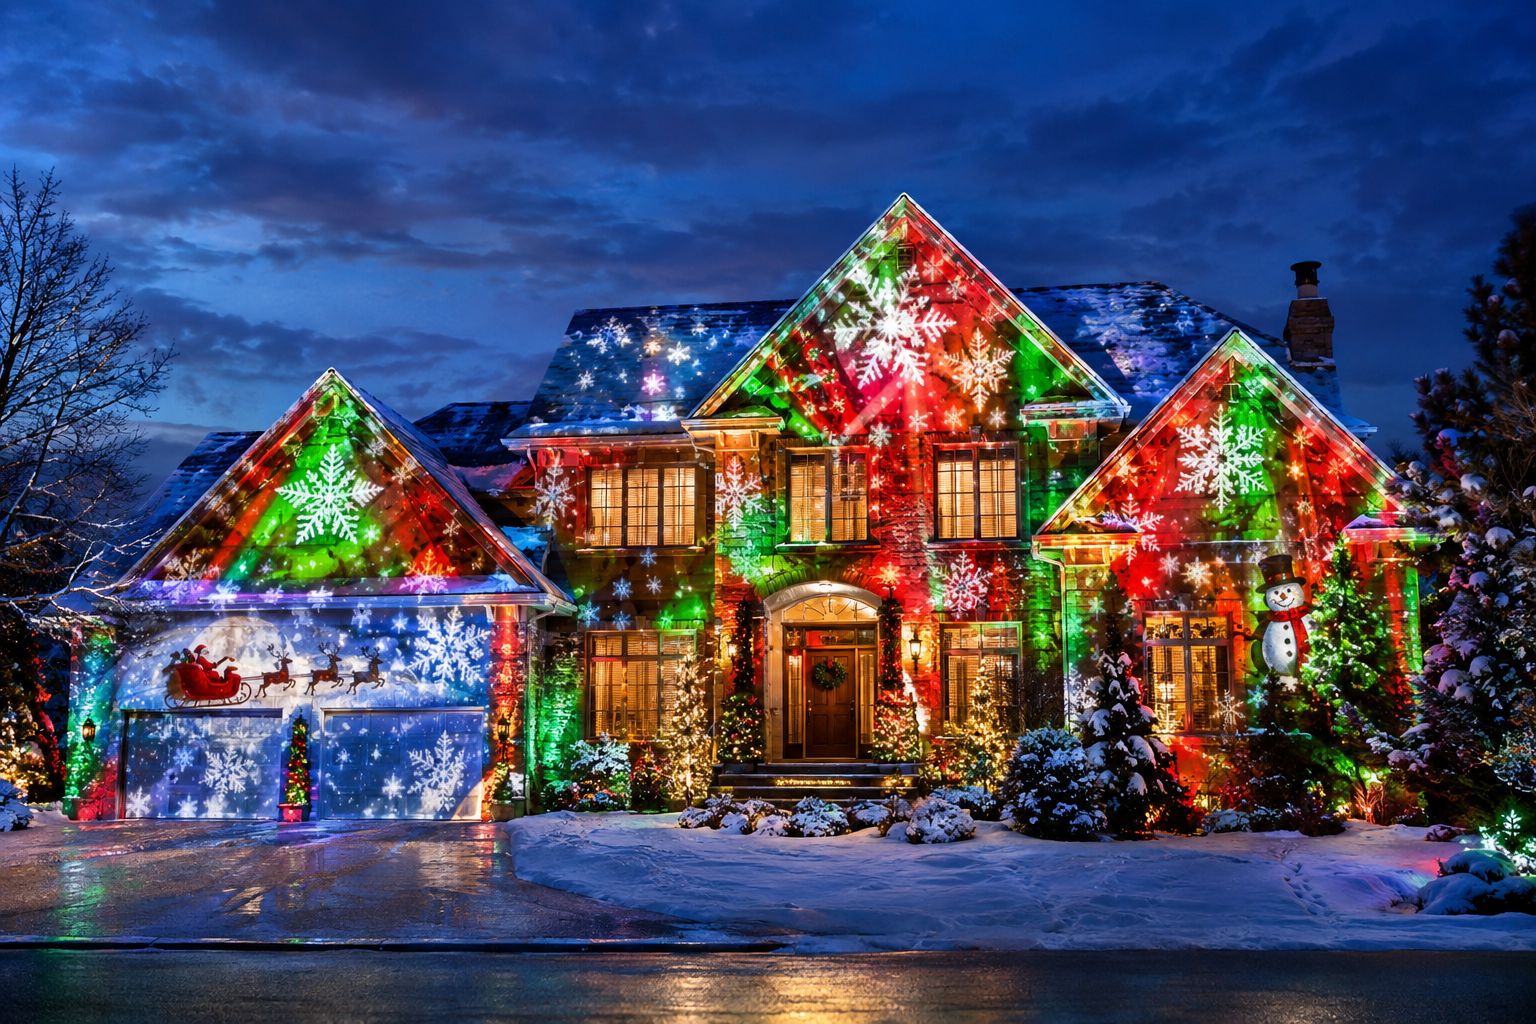
A Christmas projection show can turn the front of your house into falling snow, glowing ribbons and a sleigh that crosses the roofline. Getting there is mostly planning. Work through this checklist in order and you will avoid the usual problems: an image that is too dim, a projector that overheats or gets wet, and windows that swallow half the show.
1. Pick the surfaces
Stand at the street where people will watch and decide what the show should cover: the whole facade, the garage door, the windows, or a single gable. Light-colored, flat surfaces show the brightest image. Dark brick and deep shadows need more projector brightness.
2. Measure the width you want to cover
Measure the width of the area you want lit. You need this number to work out where the projector goes and which lens or projector suits it.
3. Find the projector position
Most homeowners put the projector on the lawn, a porch rail or across the driveway. The distance from the projector to the house is set by the projector’s throw ratio: distance equals throw ratio times image width. Our guide on Christmas house projection mapping walks through this in more detail.
4. Choose a bright enough projector
Street lights, porch lights and neighbors’ displays all compete with your image. Brighter is better outdoors, and short-throw projectors help on small lots. See Projectors & Lenses; BenQ is a priority partner.
5. Protect the projector
A projector left outside for the whole season needs an enclosure that keeps rain, dew and debris off it while still letting it breathe. Homeline is our fan-cooled enclosure for homeowners in milder climates. For long runs in wet, freezing or coastal conditions, the climate-controlled Defender is the better match.
Christmas offer · only 20 available
Homeline projector enclosure: $799. Fan-cooled, a 1-year warranty, and a fit check for your projector model before you order. Enclosure only; while the 20 last.
6. Check the fit before you order
Send us the projector make and model. We check body size, lens position, airflow and power against the enclosure before you order, so there are no surprises on setup night.
7. Bring the windows into the show
Untreated glass lets projected light pass straight into the house, which leaves dark holes in the picture. Window Mapping Film goes on the outside of suitable windows and gives that light a surface to catch, so the snow and ribbons carry across the glass. It stays largely see-through when the projector is off.
8. Plan the power
Use outdoor-rated extension cords, plug into a GFCI-protected outlet, and keep connections off the ground. Do not share the circuit with a big inflatable display if you can avoid it.
9. Map and align the content
Mapping software lets you outline the windows, doors and rooflines so the animation follows the shape of the house. Save your mapping file so you can reload it each night or next year.
10. Test at dusk, then set a schedule
Run a full test after dark, adjust focus and brightness, and walk to the street to see it as visitors will. Then set the show to run on a timer each evening.
Ready to start?
Tell us your projector model and where it will sit, and we will help you plan the enclosure and film. Contact us or call 888-631-5880. Projection Mapping Supply ships internationally.
More reading: Christmas house projection mapping guide · Homeline projector enclosures · Window Mapping Film · Projection mapping near you
Leave a Reply