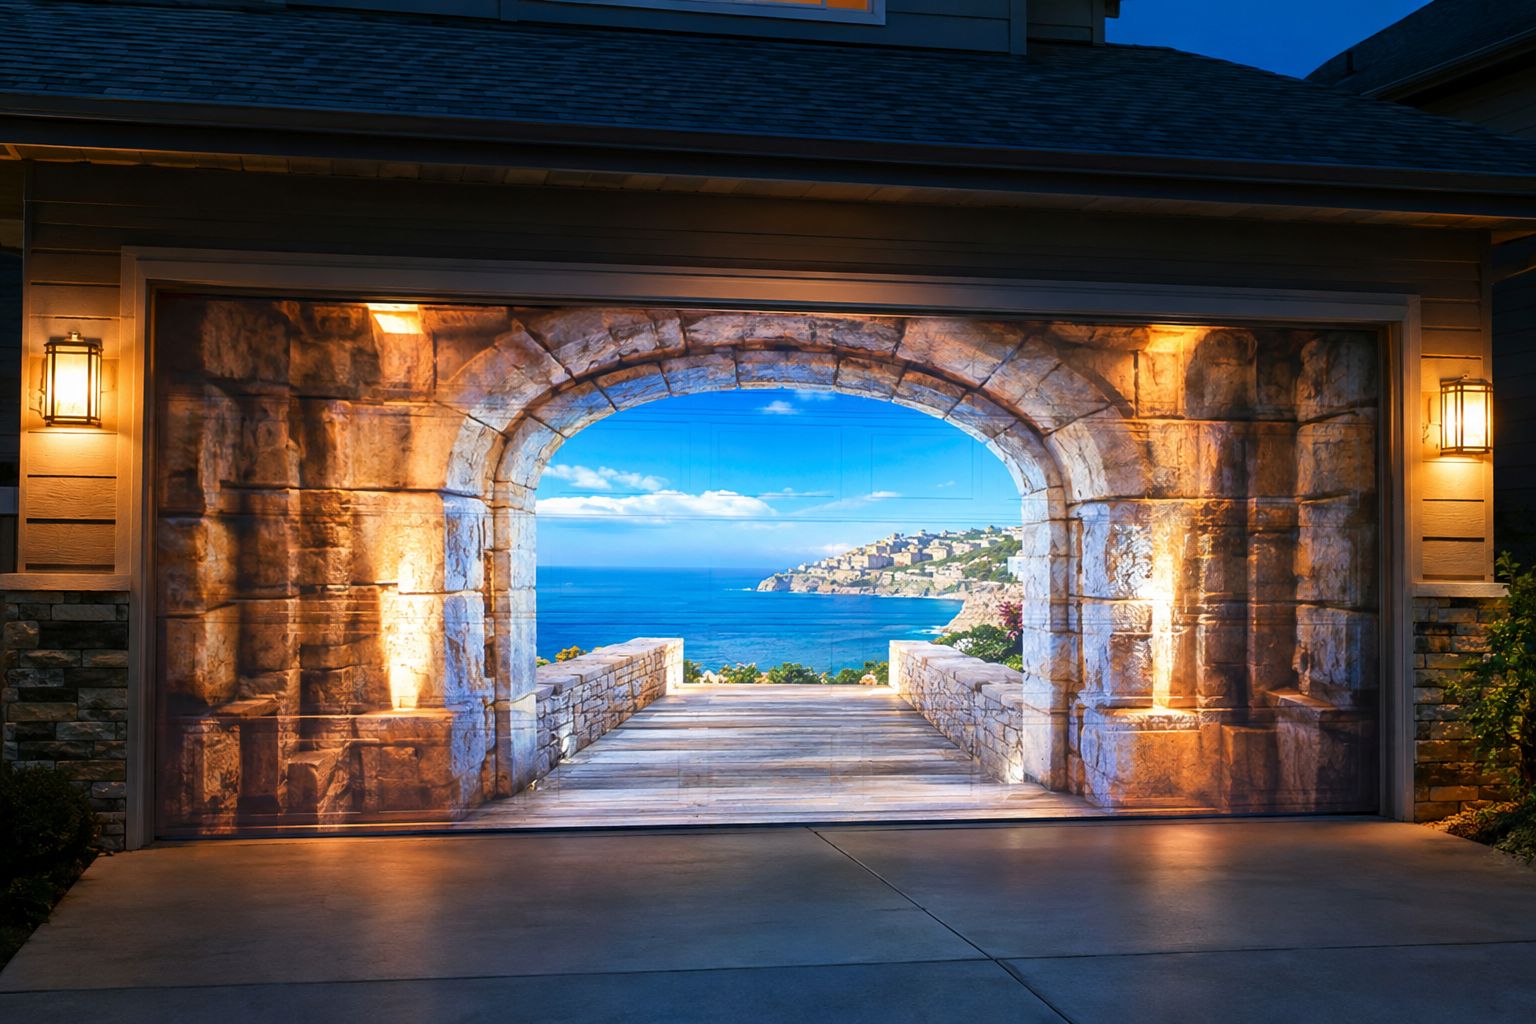
Whether you’re decorating for the holidays, celebrating special events, or simply looking to enhance your home’s facade, garage door projection mapping offers a showstopping way to stand out in your neighborhood. With the right projector, mapping software, and enclosure, you can safely project vibrant visuals onto your garage, windows, or entryway—transforming your home into a living canvas.
Why Garage Door Projection Mapping?
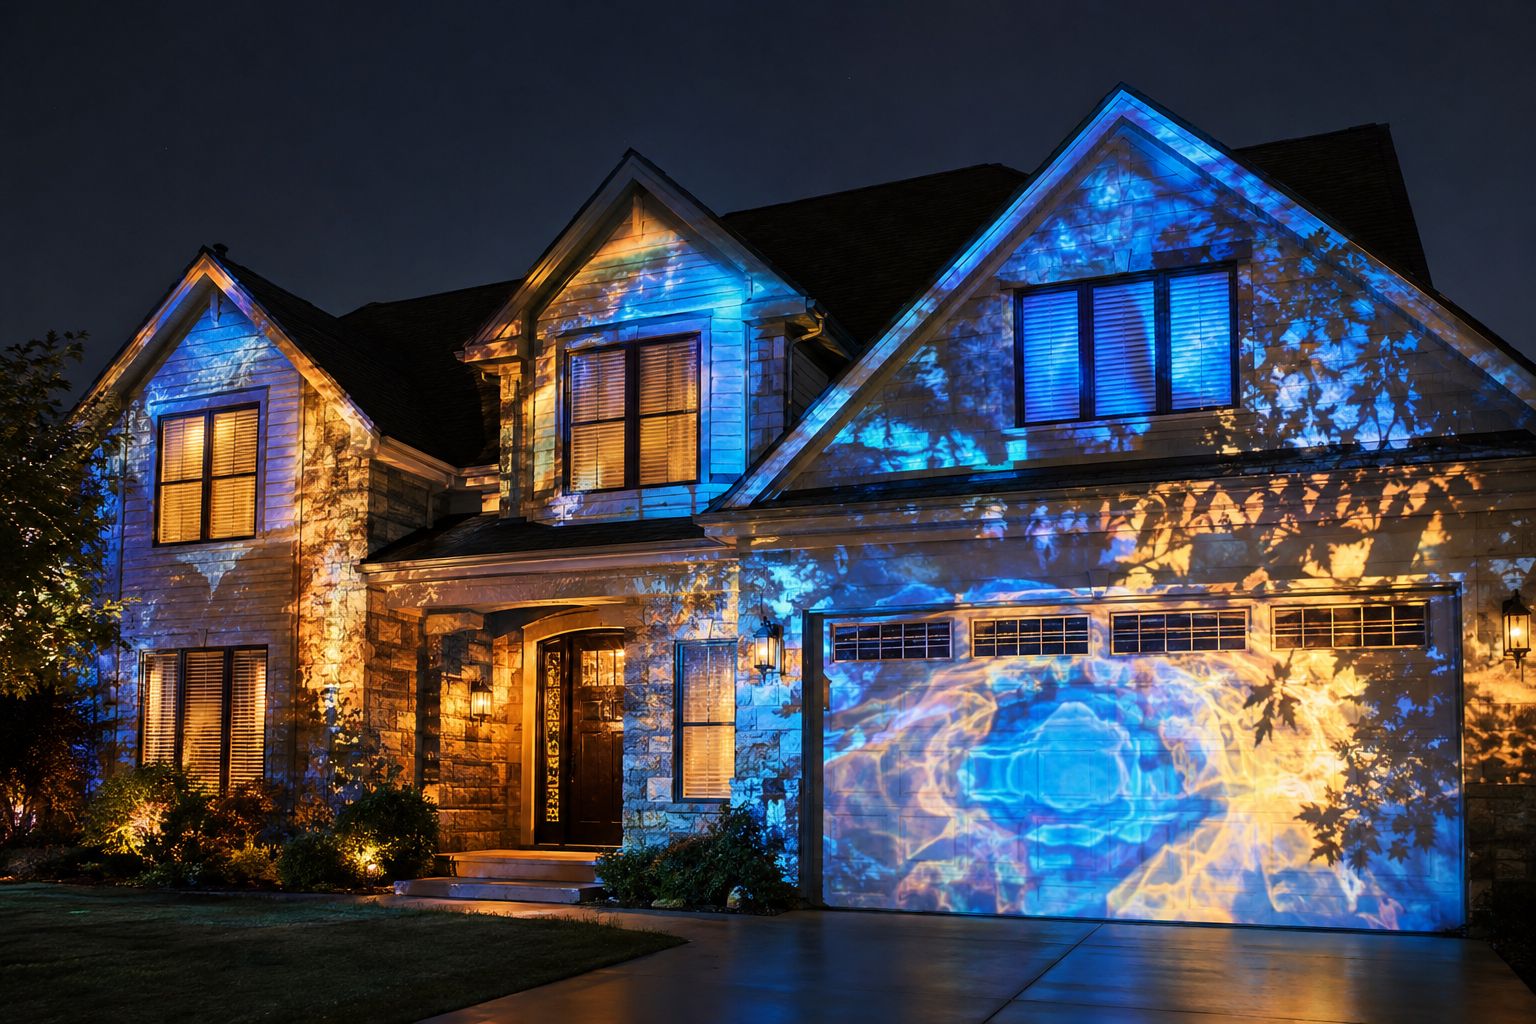
Garage doors provide an expansive, flat, and highly visible surface ideal for projection. Their central position on most residential facades ensures your visuals catch attention, whether you’re displaying moving graphics, festive themes, or interactive scenes. Further, mapping your garage integrates smoothly with holiday lighting, window projections, and other home facade decor.
Start with the Homeline Projector Enclosure
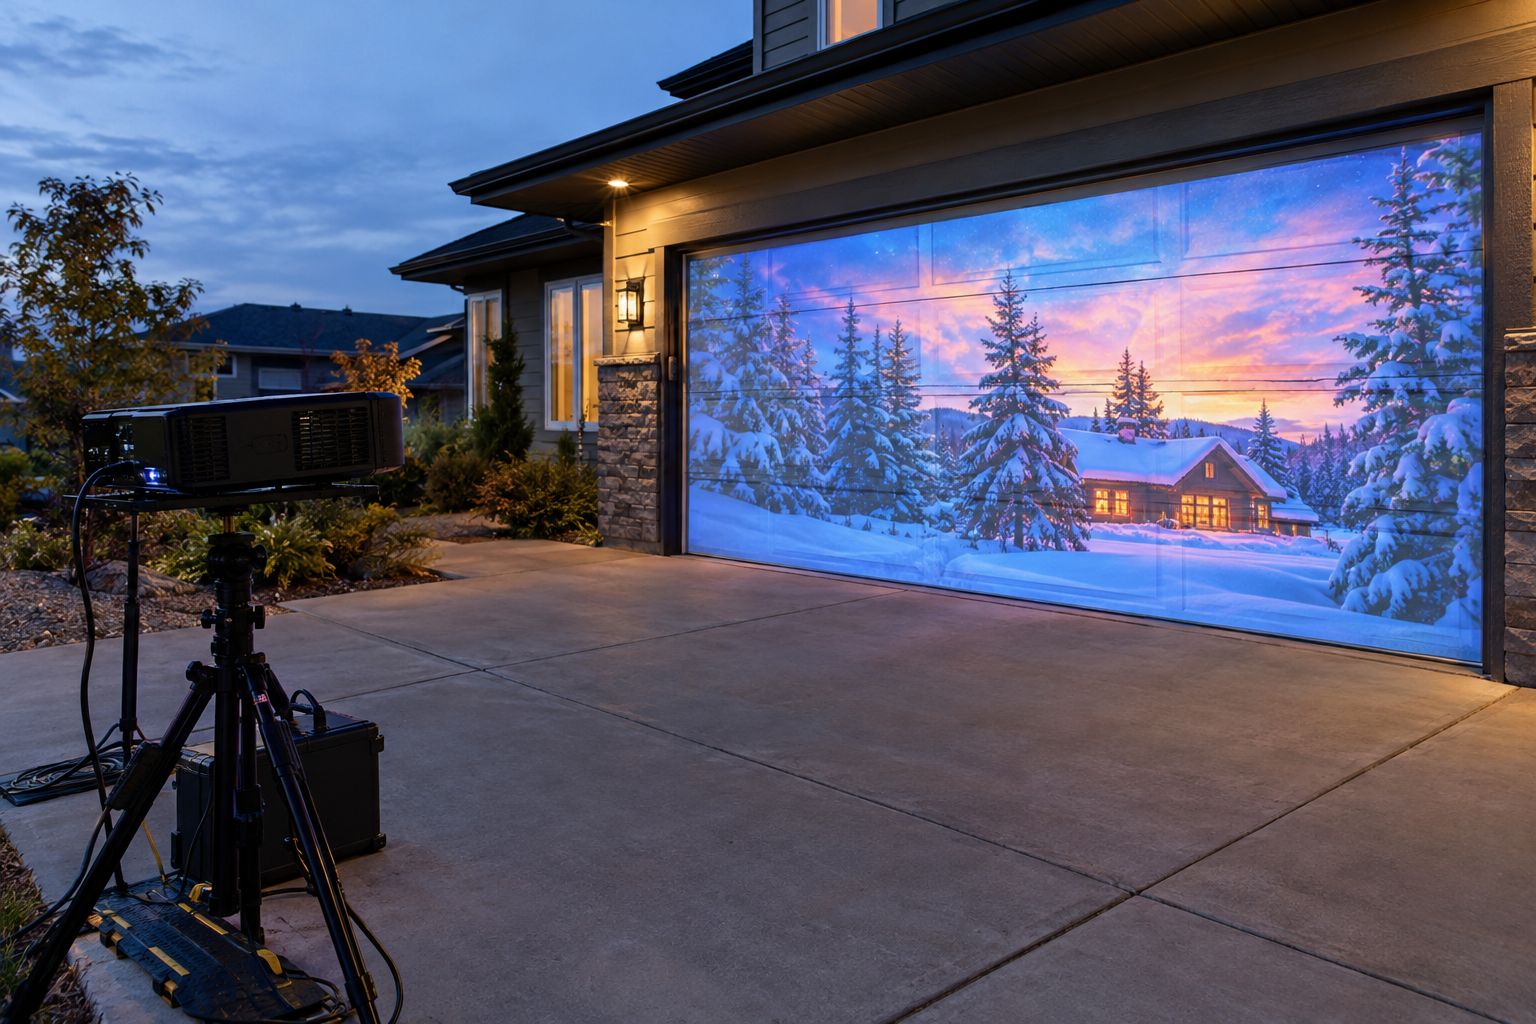
The Homeline enclosure is purpose-built for residential projection mapping, providing fan-cooled protection for compatible home projectors in mild climate conditions. Its compact size and clean design let it blend with your landscape or architectural elements, while ensuring simple access for setup and maintenance. For most garage, driveway and facade mapping in mild climates, this is where we suggest you start.
Explore Homeline & request projector-fit guidance
Confirm projector dimensions, lens position, ventilation, and power before ordering.
Residential Projection in Action
Imagine dazzling your neighbors with vivid holiday scenes, spooky Halloween animations, or custom messages mapped crisply over your garage door—right from your driveway, with no permanent changes or painting required. Projection mapping makes it possible to change your home’s appearance for any occasion in minutes.
How to Choose the Right Projector Enclosure
Outdoor projection always requires careful consideration for device protection. Your enclosure should keep your projector safe from rain, dust, tampering, and unexpected splashes—without impeding ventilation or ease of use. The main enclosure options suited for residential garage door projects include:
| Enclosure | Recommended Use | Key Features |
|---|---|---|
| Homeline | Residential facades, driveways, garage doors, events in mild climates | Fan-cooled, compact design, for mild climates |
| Small Integrator | Professional small-format, event/installation where enhanced durability or commercial specs needed | Fan-cooled, robust construction, ideal for certain pro projectors and integrator needs |
| Small Defender | Challenging environments: salt-air, high humidity, coastal or harsh weather (with 500W thermal capacity) | Climate-controlled, sealed protection, specialty for projector fit in extreme conditions |
For almost every residential application, the Homeline enclosure is your best starting point: it offers an ideal balance of protection, ease of use, and visual discretion. Professional or harsh-environment needs should consider the Integrator or Defender—but only if your projector’s specific size, airflow, and power requirements align.
Essential Steps for Garage Door Projection Mapping Success
Planning your project carefully ensures your display is both spectacular and safe. Every garage and home layout is unique, so adjust these guidelines to fit your site, projector, and creative goals.
Quick Steps for Safe, Stunning Mapping
- Measure your garage door and available setup space—account for doors, trim, landscaping, and viewing angles.
- Select and test your projector for adequate brightness and image size from your planned throw distance.
- Choose the right enclosure—Homeline is recommended—ensuring it fits your projector’s dimensions and cooling needs.
- Secure all cabling and run safe, weather-rated extension cords as necessary.
- Use mapping software (such as MadMapper, TouchDesigner, or open-source tools) to calibrate your projection precisely to garage panels and trim.
- Test at dusk or after dark, adjusting mapping, focus, and brightness for optimal clarity and impact.
Projector Placement, Throw, and Brightness: Key Factors
Your projector’s throw distance (distance to the garage door) determines both image size and brightness. For most driveways or front yards, a moderate throw length allows placement near landscaping or low fences. Consider these factors:
- Maximum image width without distortion—wider garage doors need more output and calibration.
- Ambient light from streetlights or neighboring homes—darker environments allow for crisper, lower-lumen projections.
- Physical placement and line of sight—avoid obstructions such as parked cars or shrubs.
Always test your projector in advance to confirm adequate brightness and image sharpness from your preferred location. Every projector’s optical performance and lens configuration may vary.
Flexible Seasonal Decor
Change your home’s look instantly for any holiday or event—no ladders, heavy equipment, or permanent fixtures needed. Projection mapping makes it easy to update themes as often as you wish.
Minimal Impact on Home Exterior
No holes, paint, or sticky residue on your siding or garage; all visuals are digital, projected at a distance, and can be turned on or off in seconds. Your home stays pristine year-round.
Family-Friendly, Jaw-Dropping Visuals
Enjoy interactive themes and story-driven displays, wowing neighbors, party guests, and trick-or-treaters alike. Perfect for home events, birthdays, and making every season special.
Mapping Software and Calibration Tips
Mapping software lets you align your visuals to the actual edges, panels, and trim of your garage door or facade. Most tools support manual mesh warping, point alignment, and multi-surface output. For best results:
- Use a calibration grid or outline first—project it and adjust your software until lines match physical features.
- Mask windows or trim directly in the mapping software so projections don’t spill onto unwanted areas.
- Test different mapping templates for holidays or seasonal transitions fast and efficiently.
Experiment and save your mapping files to quickly reload for repeat events or year-to-year improvements.
Window Mapping Film and Rear Projection Film
Window Mapping Film goes on the outside of suitable windows. Untreated glass lets projected light pass straight through, which leaves dark gaps in the show. The film gives that light a surface to catch, so the image carries across the windows, and the glass stays largely see-through when the projector is off. Glass type and exterior exposure are checked for each project. See Window Mapping Film. Rear Projection Film is a different product: it turns a suitable window or clear panel into a screen you project onto from behind, so the projector can stay inside. See Rear Projection Film.
Both options serve as impactful upgrades to a fully mapped home facade—but are best used to complement, not replace, your garage door projection. Learn more about mapping films and compatible products.
Safety and Setup Checklist
- Use weather-rated cables and secured connections for all outdoor installs.
- Position enclosures on stable, level surfaces out of reach of traffic and footpaths.
- Ensure enclosure fans and projector vents are unobstructed for proper airflow.
- Never operate projectors in wet or flooded conditions—use only dry, sealed enclosures.
- Plan power requirements carefully to avoid circuit overloads.
- Pack and store all equipment safely after the season to prevent moisture or dust damage.
Specialty and Commercial Options
For demanding environments—such as homes directly on the coast or in regions with high salt, humidity, or exposure—the Small Defender enclosure provides active climate control for compatible compact projectors (subject to 500W heat limits and fit). Larger Defender models and commercial integrator options are available for special project needs; contact our team for guidance or visit Projection Mapping Supply to discuss your setup and receive a custom recommendation.
Ready to Map Your Home? Start with Homeline.
Make your next holiday or celebration unforgettable with projection mapping. The Homeline enclosure is designed for homeowners seeking a worry-free, reliable, and beautiful experience—delivering professional protection and stunning street appeal. Request a quote or projector-fit check today and transform your curb appeal this season.
Frequently Asked Questions
What kind of projector do I need for garage door mapping?
The best projector depends on your garage size, ambient light, and desired effects. Choose one with adequate brightness and the right lens throw for your available space. Carefully confirm projector dimensions for enclosure fit.
Do I need a special enclosure for outdoor projection?
Yes. An outdoor-rated enclosure, like the Homeline, is essential to protect your projector from the elements and ensure safe, reliable operation. Always check fit, lens position, and airflow needs before purchase.
Is the Homeline enclosure compatible with all projectors?
No. Fit is checked for each projector model, so always measure your device—including lens position—and consult our team to confirm compatibility before ordering.
How do I calibrate projections for my garage panels?
Mapping software lets you align visuals to door panels, trim, and mullions. Use built-in mesh warping or point alignment features for precise calibration.
Can I project onto windows as well?
Yes. Window Mapping Film on the outside of the glass lets projected light show on the windows, and Rear Projection Film lets you project onto a window from inside.
What if I live near the ocean or in a harsh climate?
Choose the Small Defender enclosure for high humidity, salt-air, or harsh environments, and always check your projector fits the enclosure’s thermal and size limits. Larger Defender models are available for commercial needs.
How do I request a quote or enclosure recommendation?
Visit our contact page for expert guidance. We’ll help you choose the right enclosure, film, and accessories for your garage or facade mapping goals.