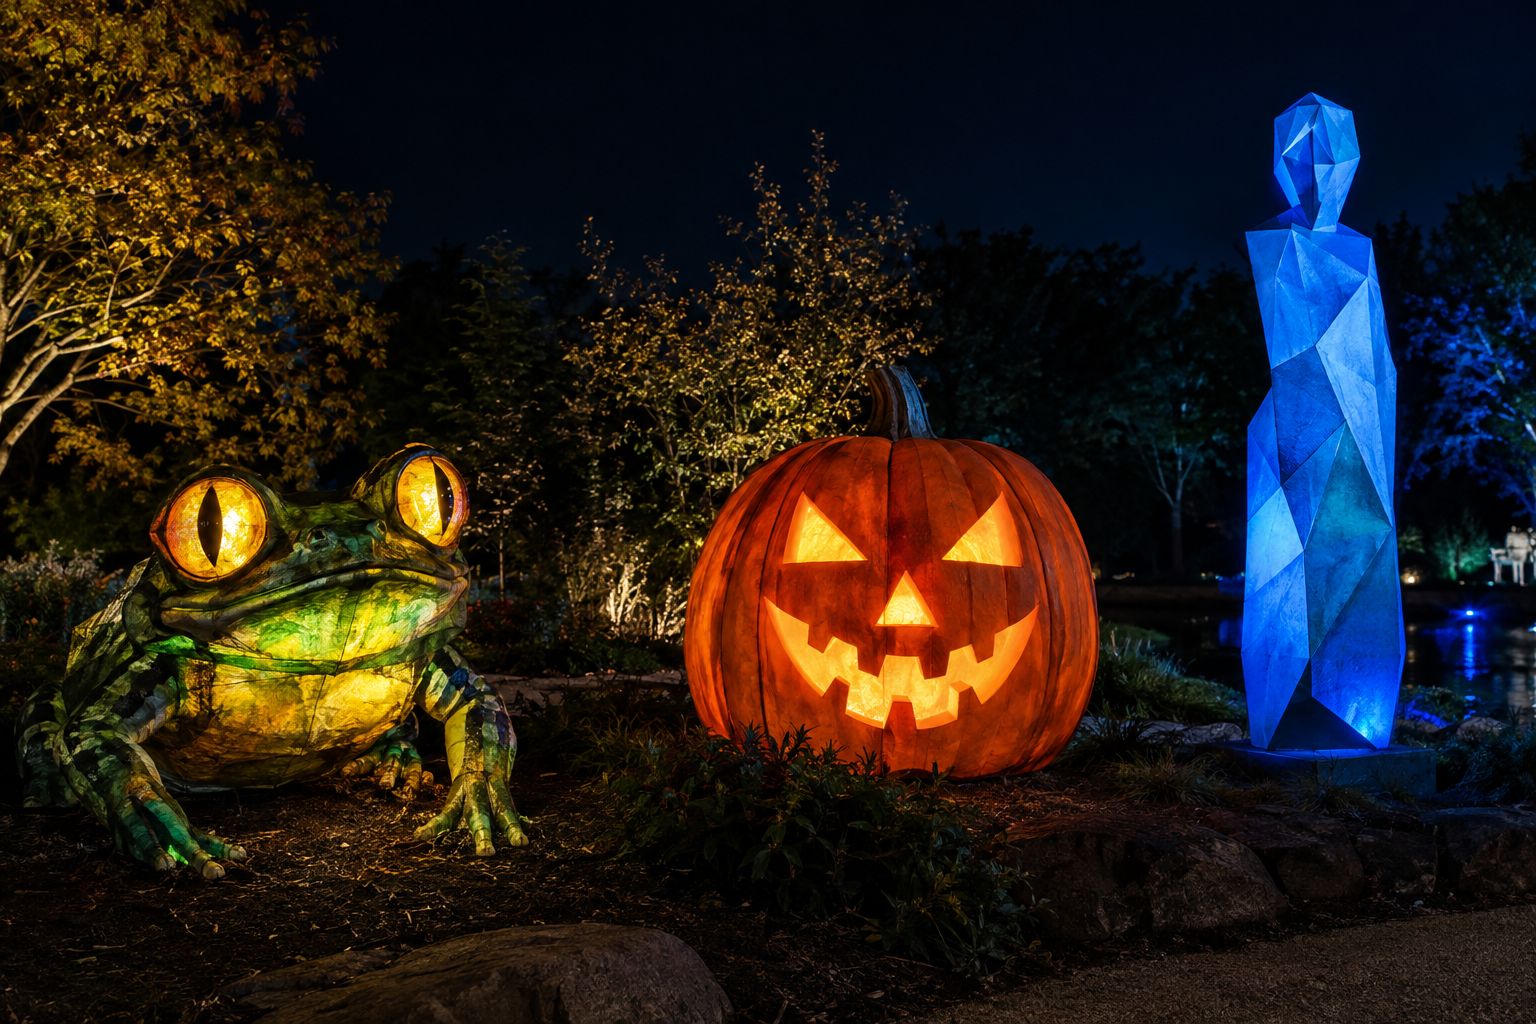
Bringing projection mapping beyond the screen is easier than many homeowners realize. With today’s compact high-brightness projectors, even outdoor props, statues, or your home’s facade can become immersive canvases for dynamic light shows. Whether you’re preparing for holidays or simply elevating your curb appeal, this guide will help you approach outdoor object projection mapping with reliable equipment and proven techniques made simple for residential use.
Understanding Object Projection Mapping Outdoors
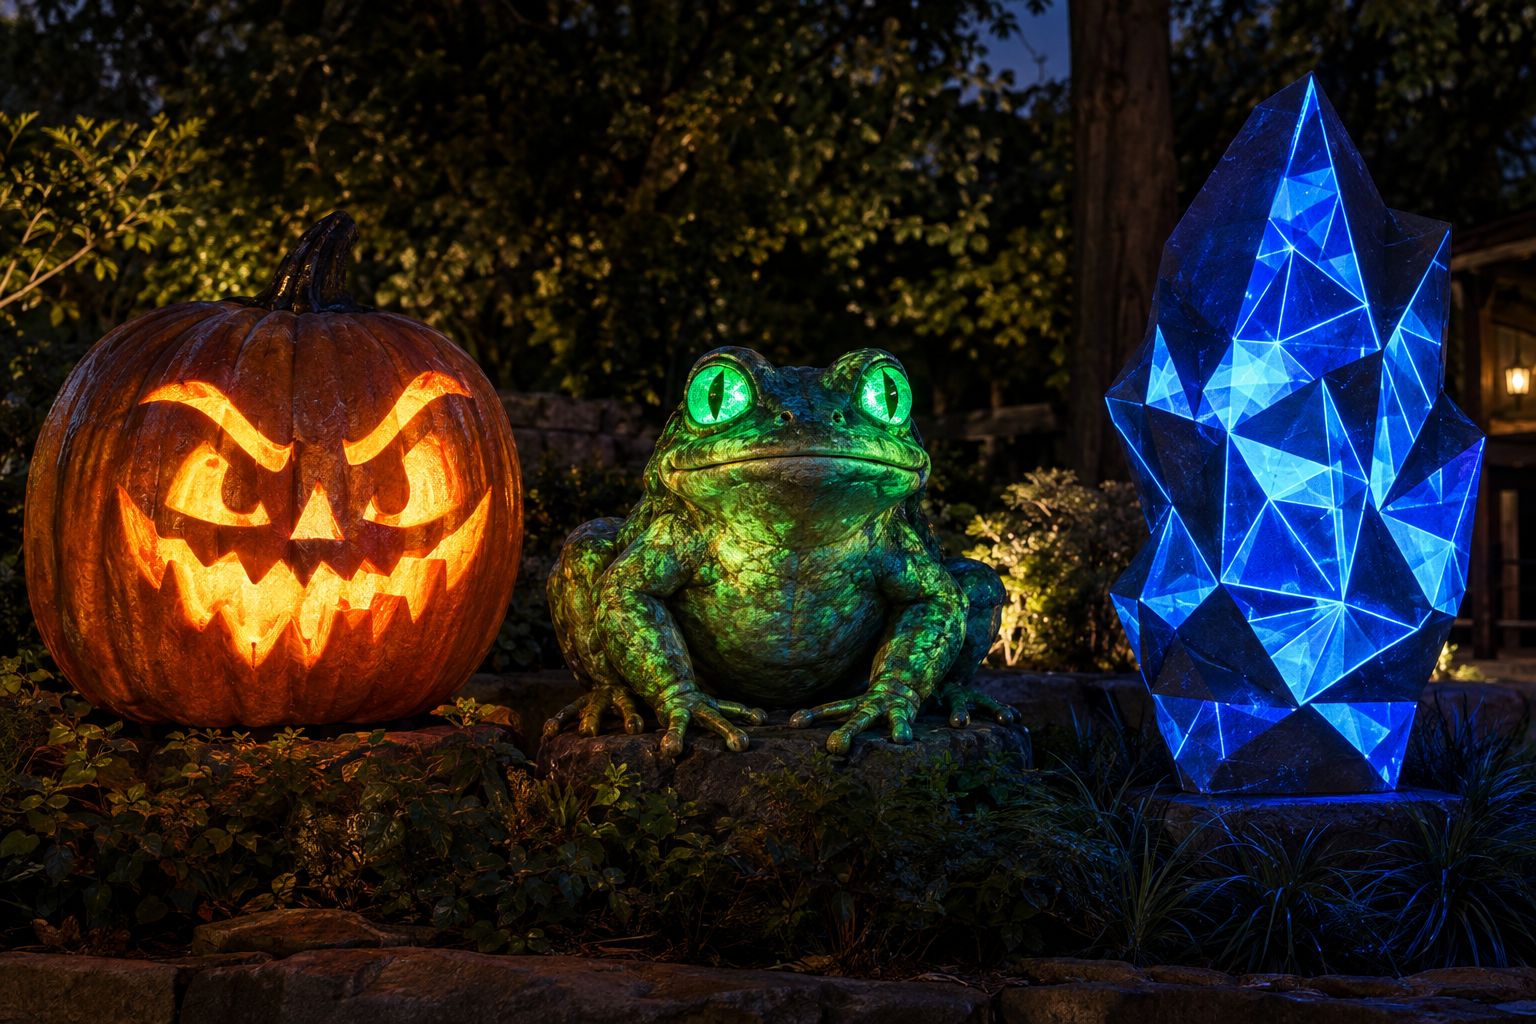
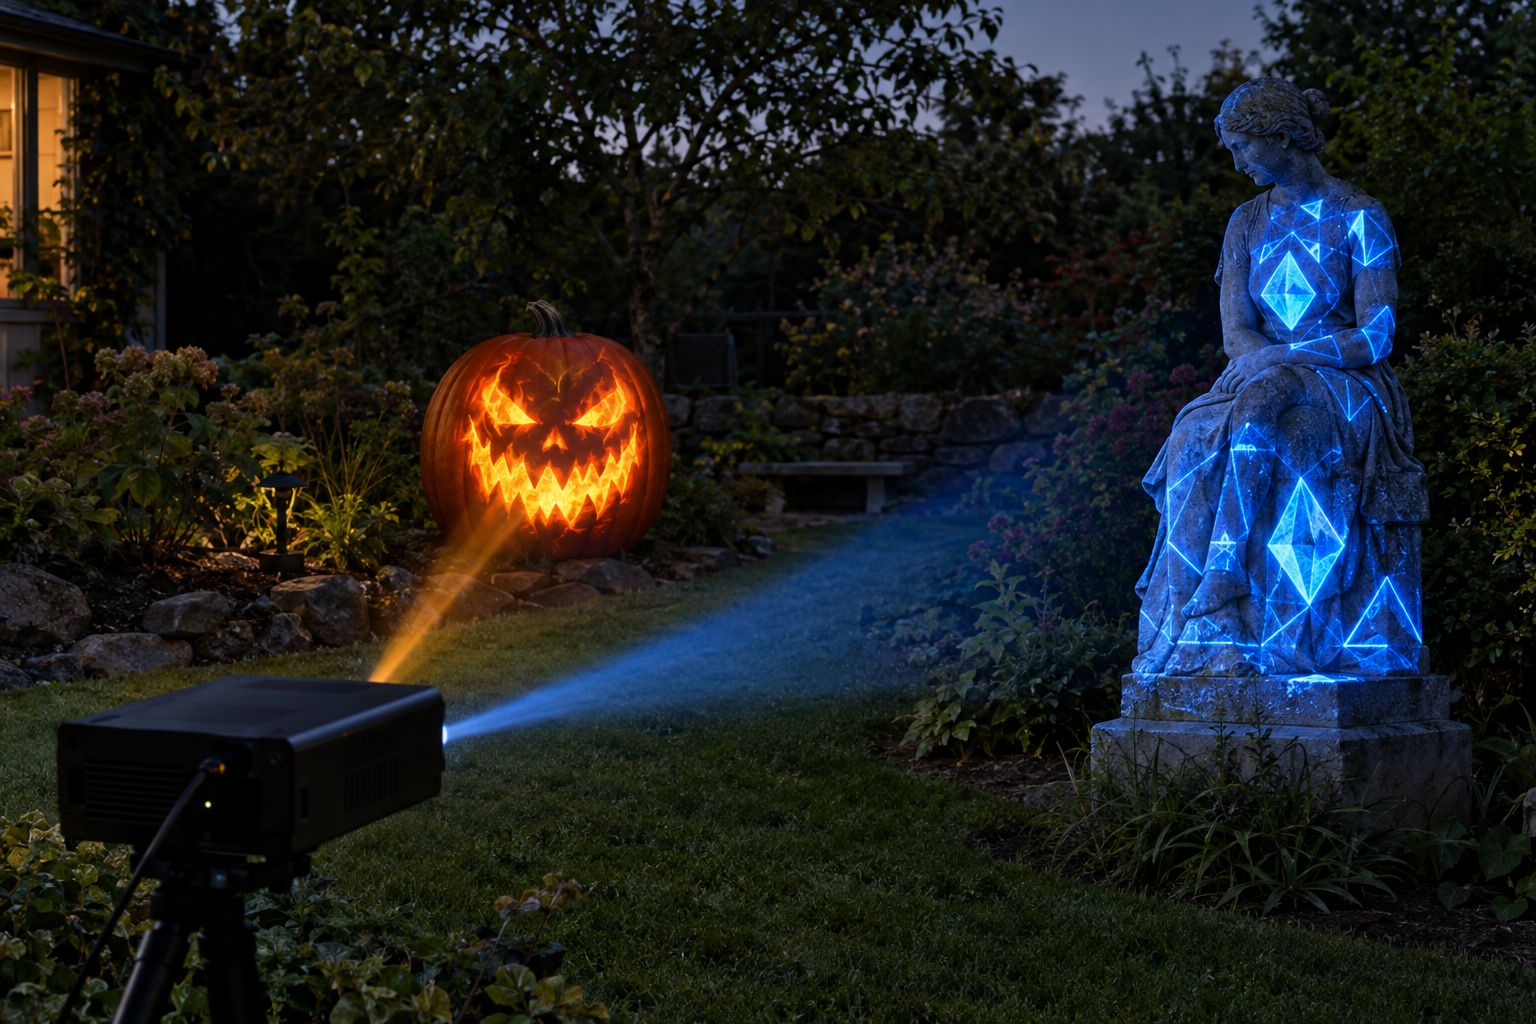
Object projection mapping enables you to transform irregular or 3D surfaces—such as garden sculptures, seasonal statues, or architectural features—into animated displays. Unlike flat façade projection, object mapping adapts visuals to unique angles and protrusions, delivering stunning visual surprises for guests or passersby. This technology is growing in popularity for holiday displays, parties, and year-round neighborhood wow-factor.
Start with the Homeline Projector Enclosure
The Homeline projector enclosure is expressly designed for outdoor residential projection needs in mild climates. If you’re mapping your home’s facade, yard props, or holiday decorations, Homeline offers robust fan-cooled protection in a compact, easy-to-deploy shell. Fit is checked for each projector model, so confirm device dimensions and ventilation before setup.
Explore Homeline & request projector-fit guidance
Confirm projector dimensions, lens position, ventilation, and power before ordering.
Eye-Catching Results: Projection on Outdoor Features
Mapping onto lawn statues, large windows, or a garage instantly captures neighborhood attention. Strategic placement and accurate calibration supercharge your setup’s creativity—whether you’re crafting spooky effects for Halloween or dazzling visitors during the winter holidays.
Comparing Outdoor Projector Enclosures for Homeowners
A reliable weather-rated enclosure is the foundation of safe, year-round projection mapping. Homeline remains the standout choice for most homeowners. For professionals or harsher environments, there are additional options worth considering.
| Enclosure | Best For | Key Features |
|---|---|---|
| Homeline | Most residential users, seasonal displays | Fan-cooled, user-friendly, for mild climates |
| Small Integrator | Compact pro-grade projection in residential or light commercial settings | Professional fan-cooled design, robust build, supports more demanding use when needed |
| Small Defender | Coastal, salt-air, high humidity, harsh weather or temperature swings | Sealed & climate-controlled, maximum outdoor durability, up to 500W projector fit |
Specialty/commercial options (Medium, Large, Large Plus, Extra Large Defender) are available for high-power or large-scale outdoor installations but are rarely required in typical home environments.
Transform Ordinary Into Extraordinary
Projection mapping turns everyday structures—statues, columns, even trees—into animated focal points, making your property unforgettable during special events or holidays.
Flexible, Removable Installations
Outdoor mapping setups are non-invasive: both enclosures and props can be set up, adjusted, or removed seasonally, with no permanent fixtures.
Wow Factor, Inside or Out
Creative mapping brings your vision to life—inside bay windows, atop garage doors, or on garden sculptures—while keeping visibility and home features intact.
Setup Steps for Outdoor Object Projection Mapping
- Choose display objects and define projection boundaries. Walk your yard or facade, looking for props and surfaces that will pop with light.
- Select a compatible projector and enclosure. Prioritize Homeline for standard home setups—ensure proper fit for your projector, lens, and cooling requirements.
- Position the projector at correct throw distance and angle. Test visuals in the actual environment; ensure no obstructions or trip hazards.
- Run mapping and alignment software. “Mask” your visuals precisely onto 3D forms or surface contours using mapping tools.
- Secure electrical, power, and cabling safely. Use outdoor-rated extension cords, keep power off ground, and weather-seal all junctions.
- Test mapping during dusk or night. Adjust focus, brightness, and content for maximum clarity while minimizing light pollution or neighbor disturbance.
Projector Brightness, Throw Distance, and Angle Considerations
The right combination of lens throw distance, brightness, and angle ensures sharp, vibrant results. Place your projector so the entire object or structure is evenly illuminated—avoid projecting from extreme angles that cause distortion. For best clarity, test mapping at the time of actual use (e.g., after sunset). Higher ambient light or a larger target demands more projector brightness. Always ensure your chosen enclosure and projector match for size and safe operation.
Software and Mapping Calibration Tips
Modern mapping software simplifies the process of ‘warping’ your visuals onto non-flat objects. Use the software to set up masks or polygons that match edges and curves for pinpoint accuracy. Adjust over several test runs, viewing from different perspectives, to optimize alignment. Many software tools support multiple projectors for intricate installations—just ensure every device fits safely within a compatible enclosure.
Electrical and Weather Safety for Outdoor Setups
- Always use weather-rated power cords and connectors; keep all connections off the ground to prevent water intrusion.
- Make use of GFCI (Ground Fault Circuit Interrupter) outlets whenever possible to reduce electrical hazard risk.
- Confirm that your enclosure doors are tightly sealed and fans unobstructed before powering up.
- Power down in rain unless your setup is designed for wet conditions, such as a climate-controlled Defender.
- Regularly clear venting grilles or air intakes of any debris or obstructions throughout the display period.
Window Mapping Film and Rear Projection Film for Exterior Windows
Window Mapping Film goes on the outside of suitable windows. Untreated glass lets projected light pass straight through, which leaves dark gaps in the show. The film gives that light a surface to catch, so the image carries across the windows, and the glass stays largely see-through when the projector is off. Glass type and exterior exposure are checked for each project. See Window Mapping Film. Rear Projection Film is a different product: it turns a suitable window or clear panel into a screen you project onto from behind, so the projector can stay inside. See Rear Projection Film.
Outdoor Mapping Safety Checklist
- Verify projector and enclosure fit—including room for lens, vents, plugs, and cables.
- Use only outdoor-rated extension cords, power strips, and remote switches.
- Secure or cover cabling to avoid trip hazards and animal interference.
- Confirm that enclosures remain on stable, elevated surfaces.
- Check all equipment after rain, wind, or cold nights before use.
Ready to Map Your Home? Start with Homeline.
Dreaming of mapping your home, garage, windows, or outdoor props? Our team at Projection Mapping Supply will help ensure a reliable fit and guide you through setup from start to finish. Most residential projects start with the Homeline—the easy-to-use enclosure for safe, showstopping displays in outdoor environments. Request a no-obligation quote today and bring your creative vision to life this season.
Request a Quote or Get Help Now
Frequently Asked Questions
What is the best projector enclosure for holiday window or facade projection?
The Homeline projector enclosure is ideal for most residential homeowners in mild climates. It’s fan-cooled and easy to set up seasonally.
When should I consider the Small Integrator enclosure instead?
Consider Small Integrator if your projector is professional-grade or you require a higher build quality for more demanding operation. Always confirm fit before purchase.
Do I need the Defender enclosure for every outdoor installation?
The Defender is only necessary for coastal, salt-air, high humidity, or harsh weather environments where maximum protection is needed. For most, Homeline is sufficient.
How do I safely power my projector outdoors?
Use weatherproof and outdoor-rated extension cords. Always plug into a GFCI outlet and keep all connections elevated and dry for safety.
Can I still see through Window Mapping Film?
Mostly. Window Mapping Film is designed to stay largely see-through when the projector is off, though the look varies with the glass and lighting.
Can I map onto irregular shapes like statues or lawn ornaments?
Yes! Mapping software lets you warp graphics accurately onto 3D objects. Setup works best when you can mask visuals closely to the prop’s contours.
What projector brightness do I need for outdoor displays?
Required brightness depends on surface size, color, and ambient light. For most homes, start with a home theater or short-throw model and test at dusk.
Can I use more than one projector at a time?
Yes, multi-projector setups are possible. Just make sure each device fits securely in its own enclosure and you plan your mapping software calibration carefully.